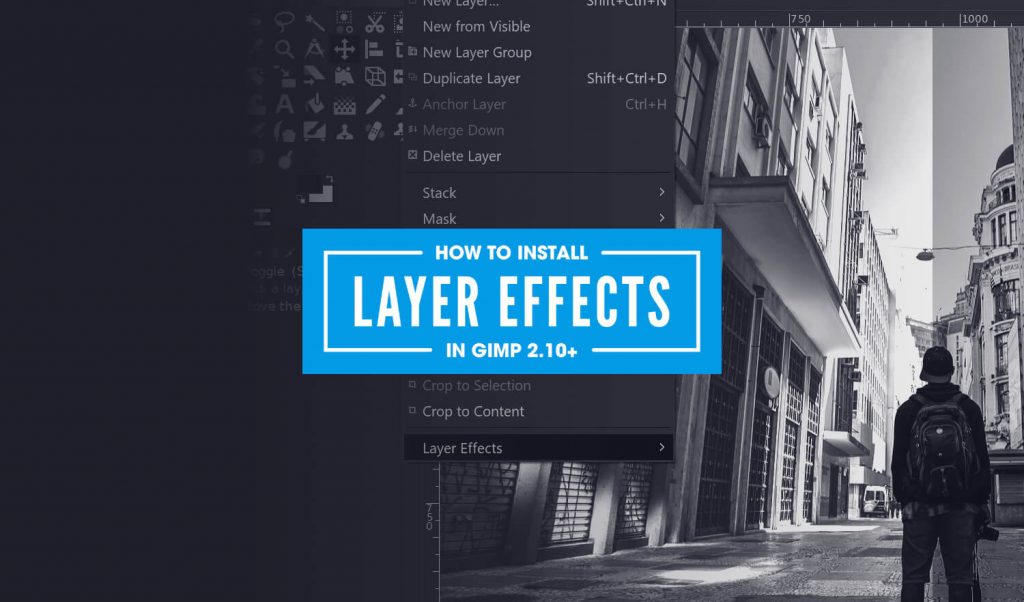
GIMP 2.10 Layer Effects Plugin | Free Download
GIMP 2.10 Layer Effects Plugin | Free Download https://logosbynick.com/wp-content/uploads/2019/03/gimp-layer-effects-plugin-1024x602.jpg 1024 602 Nick Saporito https://secure.gravatar.com/avatar/8e31bf392f0ba8850f29a1a2e833cdd020909bfd44613c7e222072c40e031c34?s=96&d=mm&r=gIn this post I’ll be demonstrating how to download and install the GIMP 2.10 Layer Effects plugin — a third party tool that adds neat features to GIMP, like Bevel and Emboss.
Layer Effects Plugin
The Layer Effects plugin adds a new sub menu to the bottom of the Layers menu in GIMP.
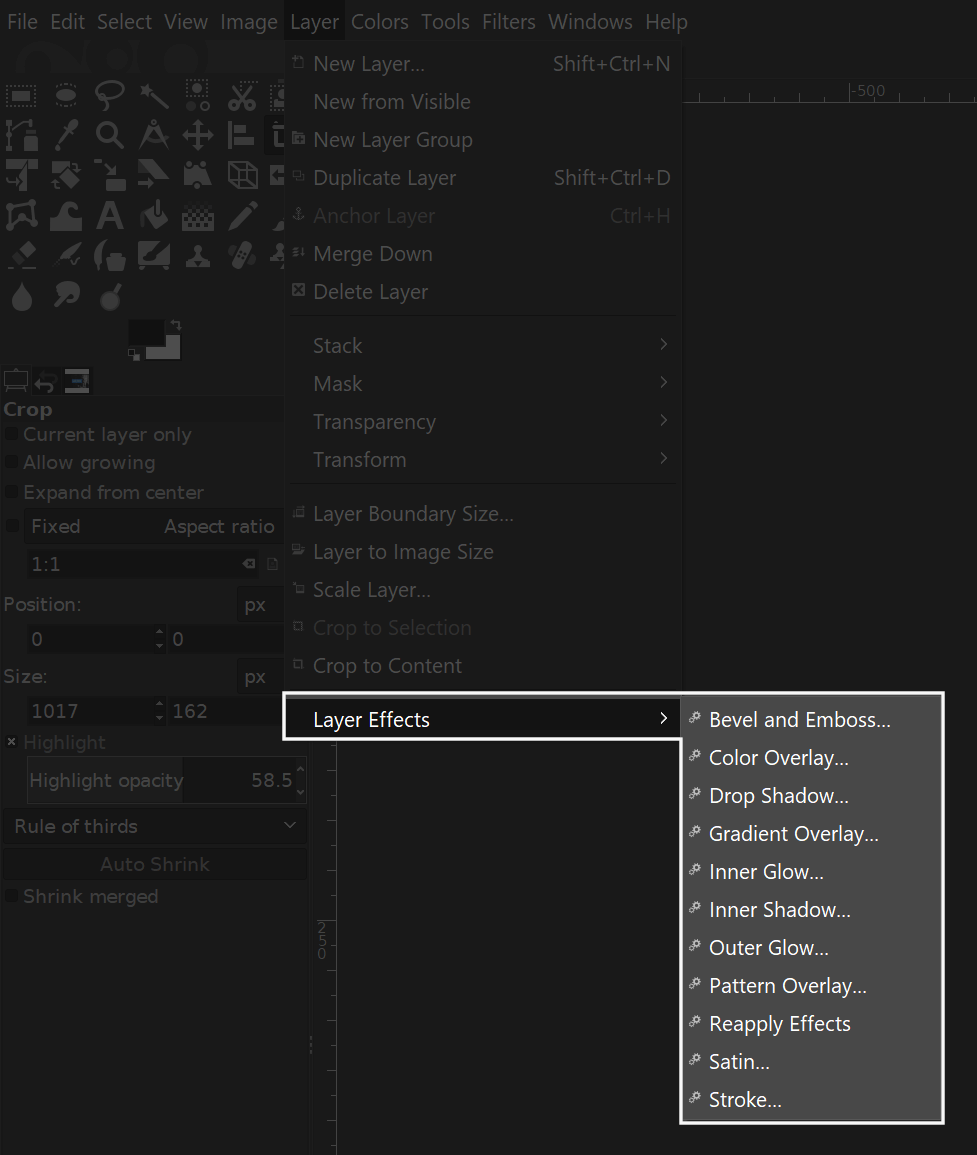
It adds an assortment of features — many of which now come standard in newer versions of GIMP — but the one feature that I really like is the Bevel and Emboss tool. Here’s a tutorial that makes good use of it…
At some point in the past you may have come across a similar GIMP tutorial that utilizes Layer Effects, but when you followed the download link, you were probably greeted with an error page…
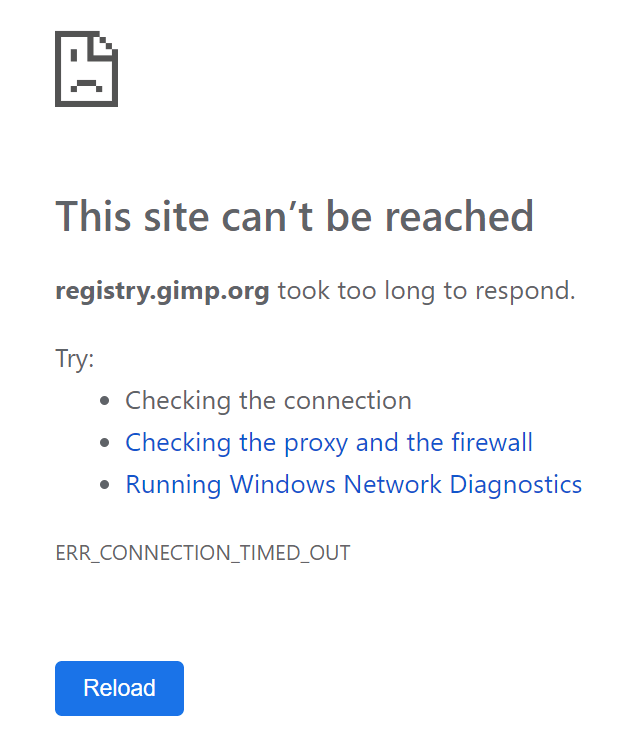
I ran into this problem the other day and it was quite frustrating, so I figured I’d make a post sharing my findings after doing a bit of digging around.
As it turns out, I was able to find a Reddit post where someone shared a download link that someone had uploaded to DropBox.
The plugin can be downloaded here: Layer Effects
All credit goes to Jonathan Stipe, the creator of the plugin.
How To Install Layer Effects in GIMP 2.10
For Windows users, to install the Layer Effects plugin in GIMP 2.10, simply grab the layerfx.py file from the .zip folder and place it in the following directory…
Local Disc (C:) > Program Files > GIMP 2 > lib > gimp > 2.0 > plug-ins

Now go ahead and restart GIMP. The Layer Effects sub menu should appear at the bottom of the Layers menu in the toolbar.
For users of other operating systems: unfortunately I can’t say for sure whether or not this will work. I do know that the file needs to be placed in the plug-ins folder, but I can’t say for sure if the pathway is the same.
If you have any questions or run into any problems, please leave a comment below and I’ll see if I can help.
Learn To Master The SoftwareGain a complete understanding of your favorite design apps with my comprehensive collection of video courses. Each course grants access to our private community where you can ask questions and get help when needed.
|
||||||||||||||||||||||||||||||||


If there is any way to make this work with 3.x I’d love to know. I was recently forced to update gimp and the current “Add Bevel” filter just doesn’t cut it for me.
Thanks boss, you are very helpful.
So glad to have found this plug in, thanks Nick. My current GIMP version is 2.10.38. I did follow your Widows install instructions as shown above, but the plugin doesn’t show up when I restart GIMP. Please help.
Hi Alfred, it might not work any more with newer versions of GIMP. It’s been a while since I published this.
Corrections to my earlier post
My OS is Pop!_OS 22.04. This is based on Ubuntu 22.04.
GIMP version is: 2.10.30 which is the latest version Pop! Shop has available for install.
There is no sign this Plugin is taking effect. The installation steps I took:
1) I downloaded the file: “layer-effects.zip” at the URL you provided. From this I extracted the file: “layerfx.py
“, and put this in the directory: ~/.config/GIMP/2.10/plug-ins/ . I made this file executable by owner, group, and everyone else.
2) In GIMP I navigated to: “Refresh Scripts”. Then for good measure I restarted GIMP.
3) The “Layer Effects” menu item does not appear at ”Filters => Script-Fu”. In the video at 0:16 it is said “There are two new things to your GIMP. One is a script, and one is a plugin.” I believe I have installed the Plug-In. But where is the script available?
4) I started GIMP from the console, and saw the startup error: “/usr/bin/env python” Not Found
I executed the command “sudo apt-get install python3” and found python3 already installed. So next I installed a symlink using the command “sudo ln -s /usr/bin/python3 /usr/bin/python”.
5) I started GIMP in the console again. This time I got a different error:
Traceback (most recent call last):
File “~/.config/GIMP/2.10/plug-ins/layerfx.py”, line 23, in
import gimp, gimpplugin, math, re
ModuleNotFoundError: No module named ‘gimp’
gimp: LibGimpBase-WARNING: gimp: gimp_wire_read(): error
I do not know what to do about this python script error in layerfx.py. The “Layer Effects” menu item still does not appear.
Wish I could help but a lot of this goes over my head. My experience with Linux is limited. Never used Pop OS either so I can’t say why it wouldn’t be working there.
How to do i get the zip file
Here: https://logosbynick.com/wp-content/uploads/2019/03/layer-effects.zip
Any tips to install in MacOS?
Placed in “Plug-in” folder but no luck :/
same
The problem is that Apple removed python from newer updates of macos. Here is a solution:
Copy layerfx.py to
/Users/[your username]/Library/Application Support/GIMP/2.10/plug-ins
Make the script executable: chmod +x layerfx.py
Edit the first line of layerfx.py to use the python version of GIMP
#!/Applications/GIMP-2.10.app/Contents/MacOS/python
Now layerfx.py should work when you start GIMP again. But remember, when you install a new version of GIMP you have to check the path in layerfx.py again!
How should this look? What do you mean to edit the first line? I only have one line. I am new to this. Thank you. It looks like this currently below.
chmod+x layered.py
If you aren’t familiar with the Terminal app and system commands I recommend to ask a professional in your neighbourhood for help. Maybe you know a computer nerd in your family or friends, otherwise you have to try the following steps at your own risk.
1. Open the file layerfy.py in an editor.
2. Change the first line (it start with #! ) to #!/Applications/GIMP-2.10.app/Contents/MacOS/python
3. Save the file and close the editor
!! If you update GIMP to another version (e.g. 2.11 or higher) you must edit the file again to match the new app name (e.g. GIMP-2.11.app).
4. The next step is to open the Terminal app which you find in the Dock under Applications->Utilities
5. When you start the Terminal the cursor is placed in the last line which ends with the $ symbol.
6. Copy the following command and paste it in the Terminal [Cmd + V] and press Return to change the directory to the place where you copied the layerfx.py file:
cd Library/Application\ Support/GIMP/2.10/plug-ins
7. Now copy the following chmod command and paste it in the Terminal, too, and press Return:
chmod +x layerfx.py
8. Now you can check the result with the command
ls -la
Remember to press Return. You’ll see a list of all files in the current directory. The line of layerfx.py should start with -rwxrwxr-x@ where the three x means that the file is executable.
Hope it’ll help.
Works great Gimp 2.10.28 installed just as you suggested.