How To Distort Perspective In Illustrator Using The Free Transform Tool
How To Distort Perspective In Illustrator Using The Free Transform Tool https://logosbynick.com/wp-content/uploads/2021/03/perspective-distort-illustrator.png 800 470 Nick Saporito https://secure.gravatar.com/avatar/8e31bf392f0ba8850f29a1a2e833cdd020909bfd44613c7e222072c40e031c34?s=96&d=mm&r=gIn this tutorial I’ll be demonstrating how to distort perspective in Illustrator so that you can transform a single object in a freeform way. For this, we’ll be using the Free Transform Tool rather than the Perspective Tool. By the end of this lesson, you’ll be able to distort the perspective of a single object in any way you’d like — whether it be on the vertical axis, the horizontal axis, or a freeform distortion.
When changing an object’s perspective in Illustrator, you may be naturally inclined to seek out the Perspective Tool. However, this is not the correct tool to use if you simply want to alter the perspective of a single object in a freeform way. As useful as the Perspective Tool may be for other tasks, using it for this would actually make the process more complicated than it needs to be.
To distort perspective in Illustrator, the best tool to use is the Free Transform Tool. This was the tool that was used to create the faux 3D text in a previous tutorial.
Distort Perspective In Illustrator
| To distort the perspective of an object in Illustrator, select the object and grab the Free Transform tool. Then, select Perspective Distort from the flyout menu and move the anchor points (in the corners of your object) to change the object’s perspective. |
The following video tutorial will walk you through the process of altering an object’s perspective in Illustrator:
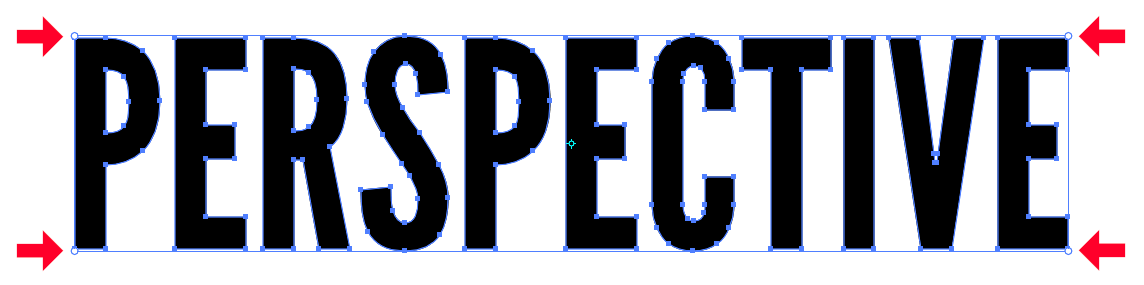
For this demonstration, I’ll be applying the effect to the following text object:
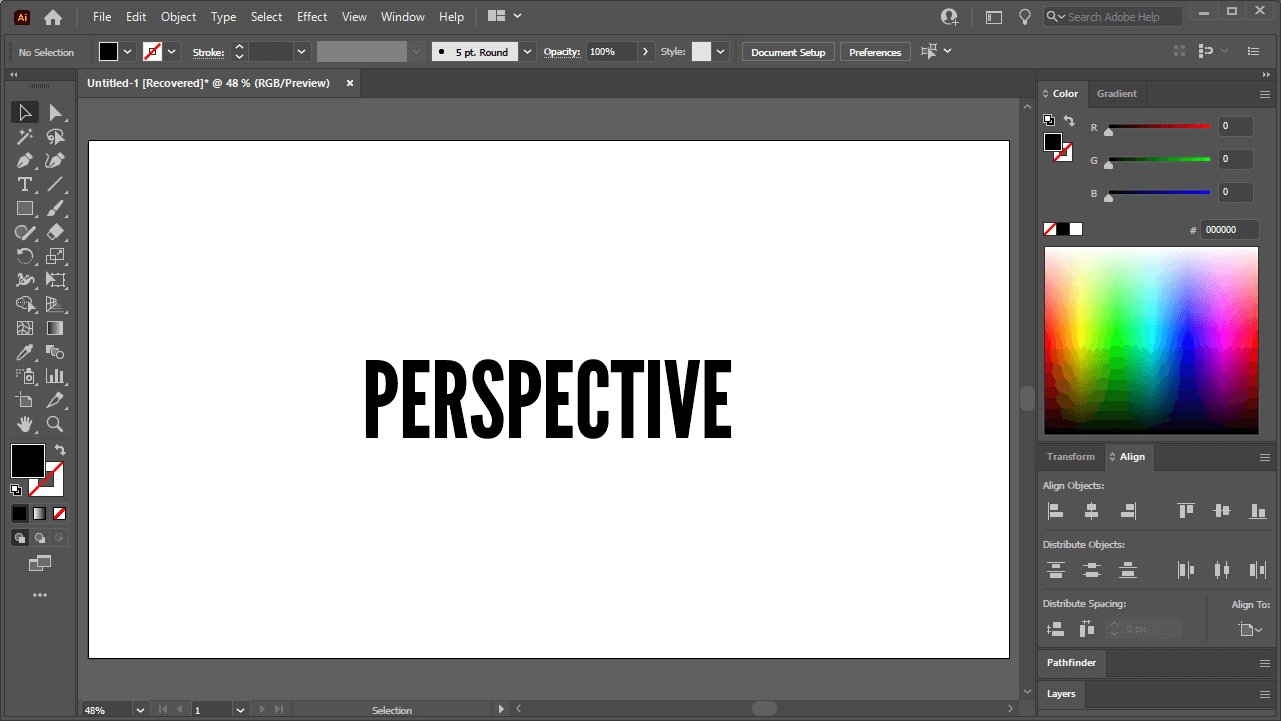
The perspective distort will be applied to a text object for this tutorial.
If you’d like to distort the perspective of text as well, make sure to create outlines from it first by selecting it and navigating to Type > Create Outlines. Otherwise this technique will not work.
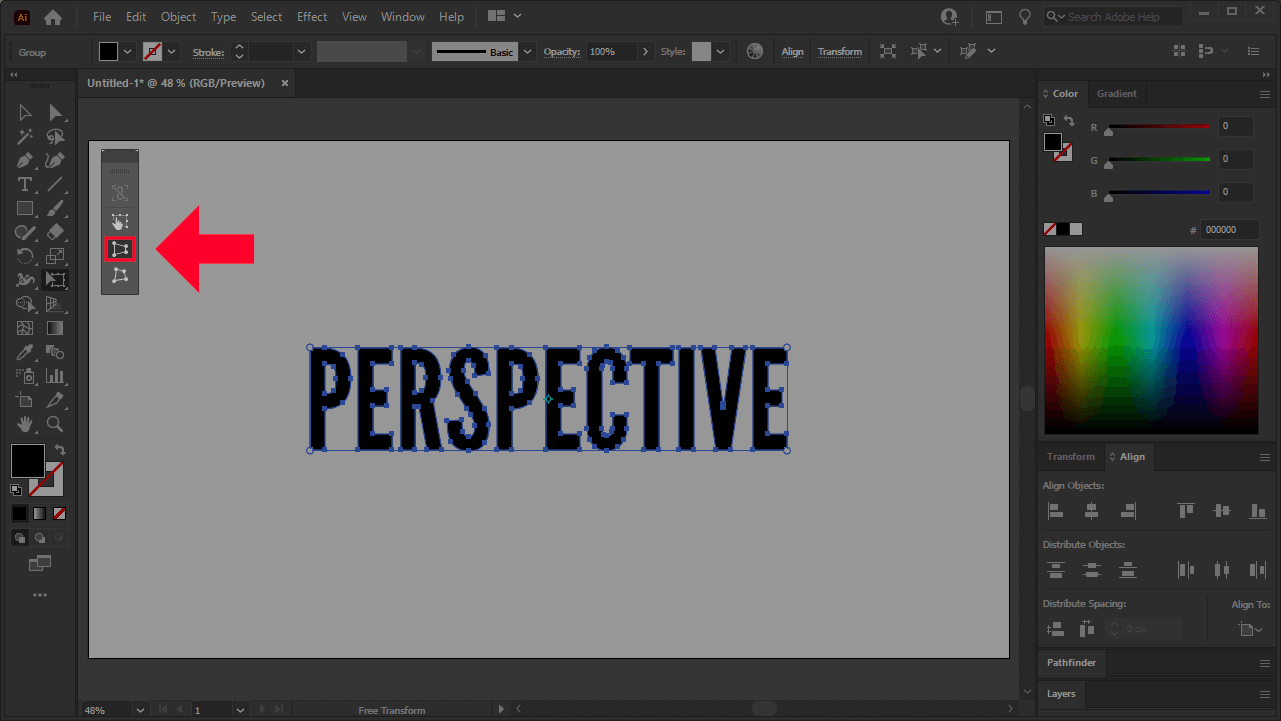
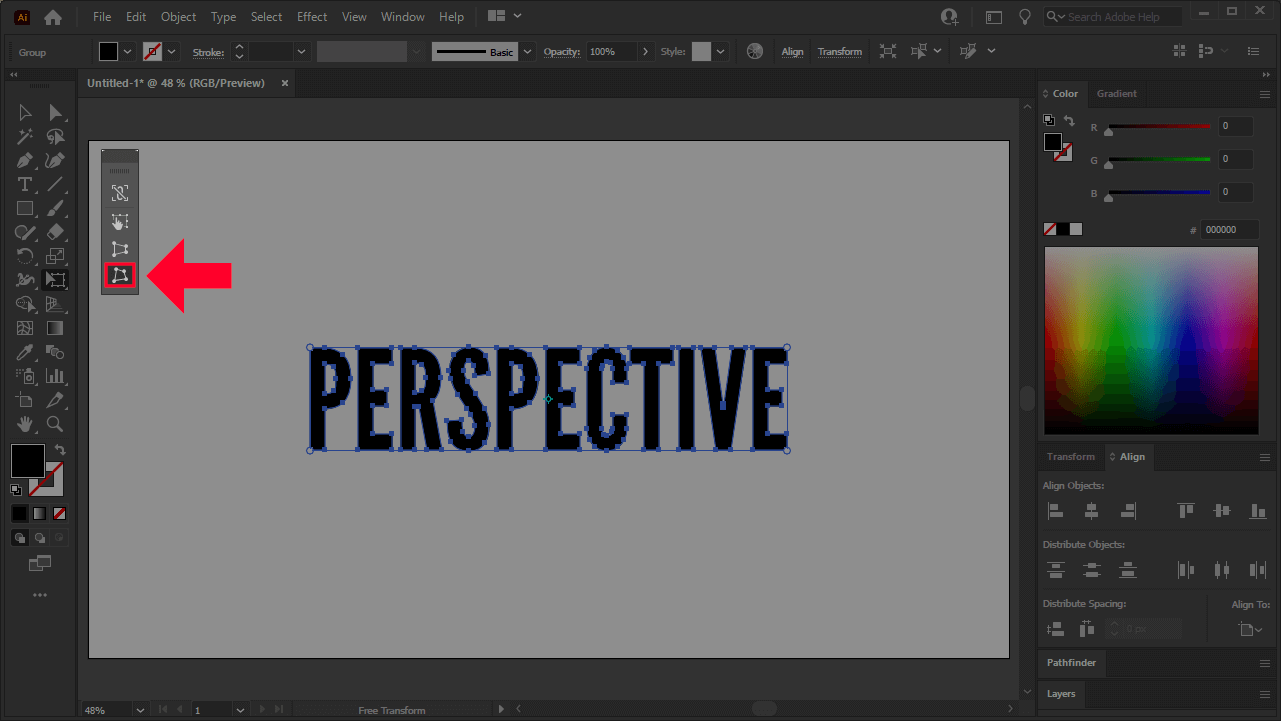
To get started, select your object and grab the Free Transform Tool located in your toolbar. The icon looks like this:
The Free Transform Tool is highlighted in red.
If you do not see the Free Transform Tool in your toolbar then navigate to Window > Toolbars > Advanced:
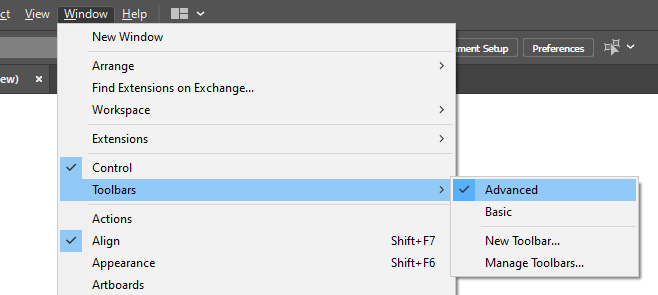
The Free Transform Tool is located in the Advanced tool menu.
Alternatively, you can press E on your keyboard to select the tool.
Once you’ve selected the tool, you should see a little flyout menu populate on your screen. Select the third icon from the top, labeled “Perspective Distort” when you hover your cursor over it:
Look for the Perspective Distort preset in the Free Transform flyout menu. Hovering your cursor over it will reveal the name.
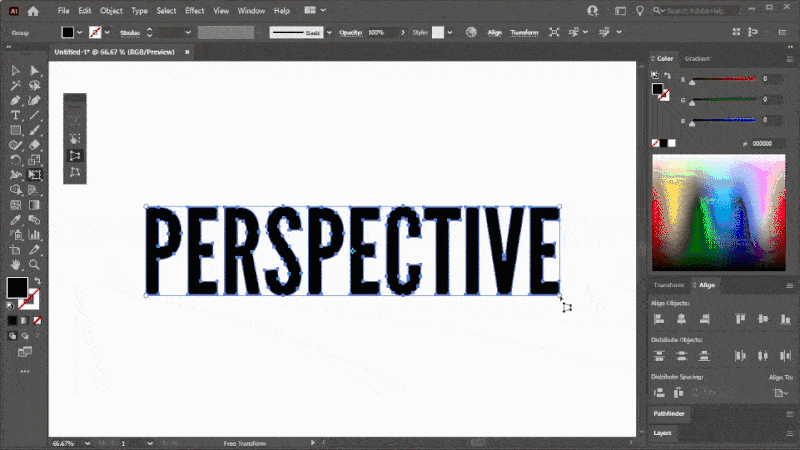
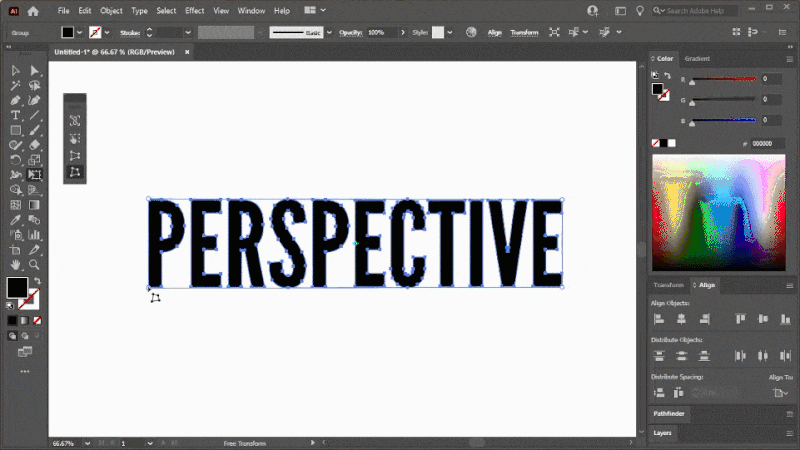
Once selected, you will notice four round handles in the corners of your selected object:
The little round handles located in the corners will allow you to manually alter the perspective of the selected object.
To distort the perspective of your object, simply click and drag these handles to move them.
Moving the handles up and down will change the perspective relative to the vertical axis:

Changing the perspective relative to the vertical axis.
Moving them left and right will change the perspective relative to the horizontal axis:
Changing the perspective relative to the horizontal axis.
To distort the perspective of each corner, independent of an axis, select the Free Distort setting in the flyout menu:
The Free Distort option is the very last option at the bottom of the flyout menu.
With the Free Distort option enabled, you will be able to change the perspective of your object on a corner-by-corner basis:
Changing the perspective independent of an axis.
Once you are satisfied with the results you can simply grab any other tool (like the Select Tool for example) and the Free Transform flyout menu will close.
Conclusion
Knowing how to distort perspective in Illustrator is simply a matter of learning how to use the Free Transform Tool. Although the Perspective Tool is good for placing objects on a predefined perspective grid, this would be a needlessly complicated way of going about changing the perspective of an individual object in a freeform way.
The benefit of using Adobe Illustrator for such a task is that there is a dedicated tool for it, making it a relatively simple process. Other vector applications handle this differently — one example of such being Inkscape, which requires the use of a path effect. Other applications — like Affinity Designer — don’t possess the ability to change an object’s perspective.
If any part of these instructions were unclear, or if you have any questions, simply leave a comment below.
Learn To Master The SoftwareGain a complete understanding of your favorite design apps with my comprehensive collection of video courses. Each course grants access to our private community where you can ask questions and get help when needed.
|
||||||||||||||||||||||||||||||||


You might also like


7 comments
-
-
Robert Tema
How do I get the “little flyout menu” to show? I’ve got the Free Transform in the tool bar, but I can’t get any flyout to select options.
-
Logos By Nick
Make sure you have the Advanced tool bar activated and not the Basic. Check this video: https://youtu.be/qFqJ5k7eAX8
-
-
Anonymous
Hi Nick-
Thank you for making that video so easy to understand.,
How would I do this this with an image and not text?
Thank you
Wendy-
Logos By Nick
Hi Wendy, you would need a pixel-based graphic editor to do that. Photoshop would be one example, or GIMP if you want a free solution.
-
-
Jessica
Thanks for the tip! What version of AI are you using? I am in CC 2021 and am not finding the Perspective Distort Tool.
TIA
-
Nick
Hi Jessica, it could be because you have the “Basic” toolbar enabled. Try going to Window > Toolbars and choose “Advanced” if possible.
-
Suzi
Thanks heaps for your explanation and demo, you just saved me a bunch of time! 🙂