
How To Create A Photo Mosaic Collage with GIMP
How To Create A Photo Mosaic Collage with GIMP https://logosbynick.com/wp-content/uploads/2019/06/gimp-photo-mosaic-2-1024x602.jpg 1024 602 Nick Saporito https://secure.gravatar.com/avatar/8e31bf392f0ba8850f29a1a2e833cdd020909bfd44613c7e222072c40e031c34?s=96&d=mm&r=gIn today’s tutorial I’ll be demonstrating how you can use GIMP to create a mosaic photo collage where a bunch of individual photos are used to represent a larger photo. In order to follow along with this tutorial you will need a third-party extension for GIMP called G’MIC, which can be downloaded and installed here.
The following is just a brief overview of the steps taken to accomplish this effect. For complete step-by-step instructions with voice narration, please watch the video tutorial below:
Create A Photo Mosaic with GIMP
The first thing we have to do is round up some photos to use in our collage. For the sake of this tutorial, I just went to Pixabay and downloaded a bunch of random stock photos.
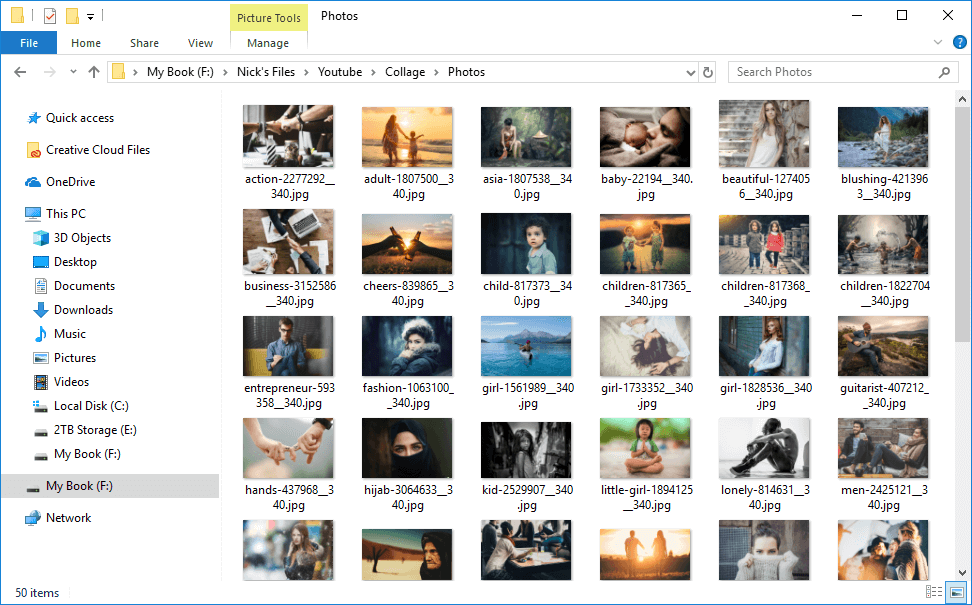
Download and save at least 50 photos to a dedicated folder somewhere on your hard drive.
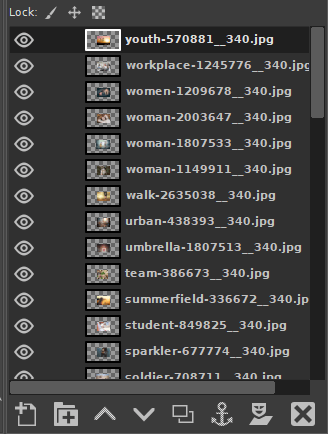
Now we’re going to create a new document in GIMP and open all 50 photos as individual layers by going to File > Open As Layers… and selecting all of the photos in your folder. It’ll take some time, so give it a minute to process. Once it’s completed, you’ll have all 50 photos on your document, each with their own dedicated layer.
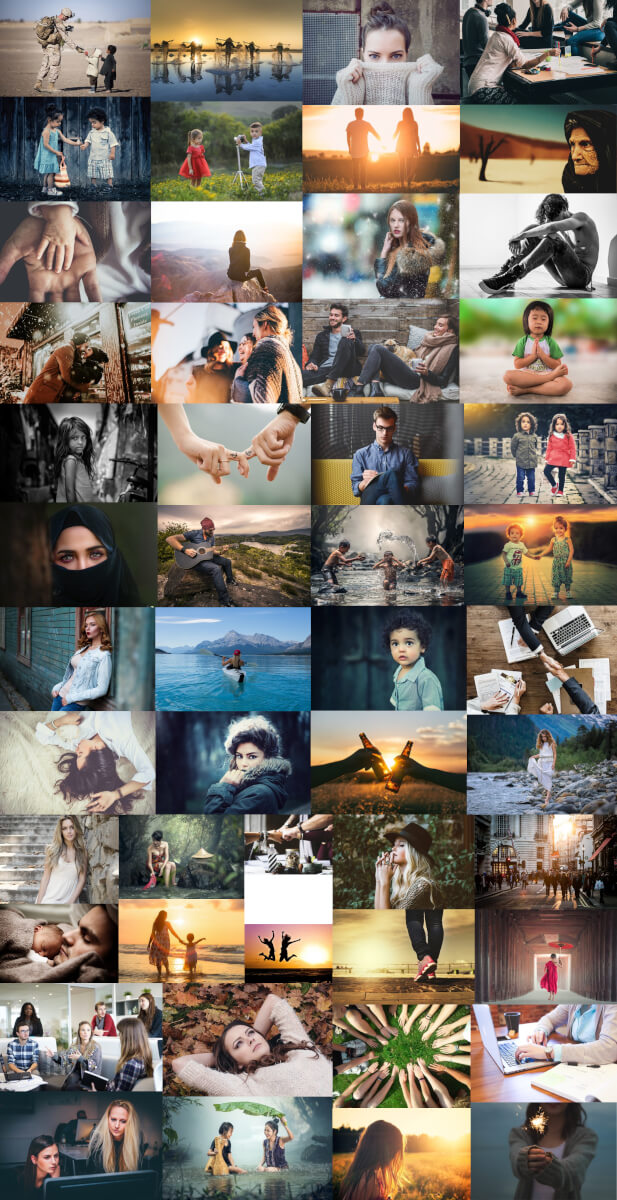
Now what we’ll do is open the G’MIC plugin by going to Filters > G’MIC and look for the Montage feature under the Arrays and Tiles section.
We’ll leave all of the default settings as they are, then simply click OK to run the montage function. Your 50 photos will be arranged into a collage and opened in a new document, all flattened onto a single layer.
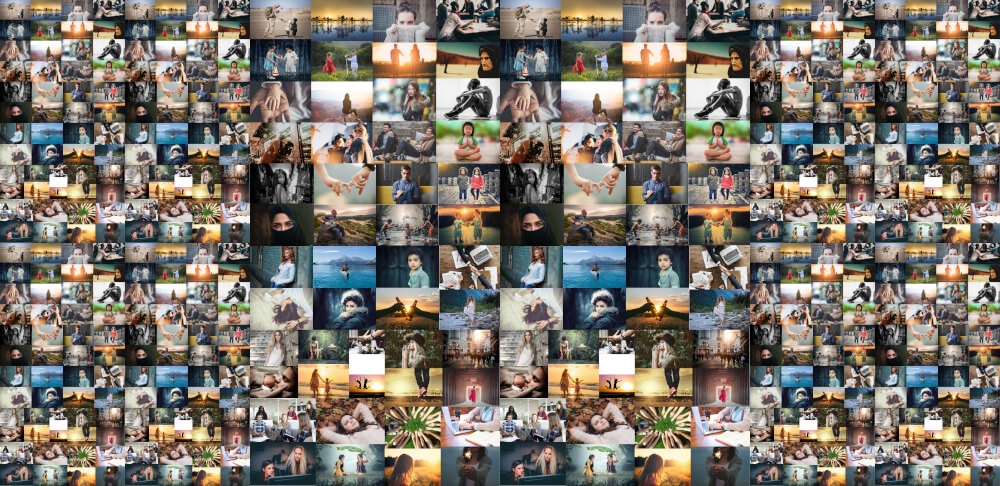
Although it’s a start, this is still not enough photos, so we’re going to duplicate this layer 9 times (so we have 10 in total) and run the Montage function again.
Now we must open our subject photograph — the photo we’d like the above collage to represent. For the sake of this tutorial, I’ll be using another stock photo from Pixabay.
Simply copy the collage and paste it over your subject as a new layer. Once you’ve done that you can bring down the saturation of the subject photo a bit so that the colors of the collage take precedence, then use the Shadows-Highlights feature to adjust your photo as needed. Again, please refer to the video tutorial at the top of the page for more in-depth instruction.

And with that we are finished! We have successfully created a photo mosaic where a bunch of individual photos are used to make a larger photo.
Learn To Master The SoftwareGain a complete understanding of your favorite design apps with my comprehensive collection of video courses. Each course grants access to our private community where you can ask questions and get help when needed.
|
||||||||||||||||||||||||||||||||


You might also like


11 comments
-
-
Logos By Nick
Try the Unified Transform tool (shift + T) and make sure you have the layer selected before doing so.
-
-
Francis
My gimp version doesn’t have any of these colour filters that you used in this tutorial, such as Colors > Shadows-Highlights and Colors > Saturation.
-
-
Francis
How to create a title and description inside the mosaic like you did in the video screenshot?
-
K T
I’m also having this issue; when I try to run the G’mic plugin, it struggles to open, and when I finally got as far as trying to do the montage function, it crashed my whole PC so badly I had to unplug, even forced shutdown wouldn’t change anything :/
-
Véronique
I have the same problem with Gmic. Big bug and Gimp stops. Even if I followed the instructions to install it, it doesn’t work…
-
Anonymous
I have the most updated version of Gimp but am having difficulty with G’Mic as it is not loading as an add on. What am I doing
wrong? -
-
-
Anonymous
Hmmm, well when I chose montage it didn’t do anything. The pics just stayed on top of each other.
-
-
George Zolkiewka
Following the tutorial, I generate the montage (by duplicating the initial montage) and copy visible. All fine so far. I then open the target and PASTE AS A VISIBLE LAYER.
This is where I get stuck – I can see the two layers and can view as OVERLAY.
But I can’t scale it down and use the alignment tool as per your video.
I’ve tried with different target images (1200 x1600, 4000 x 6000) but just can’t get this final stage to work. Any suggestions? Thanks
(Thanks for the doing the video)