Tutorials

Lock objects in Inkscape
How To Use Layer Locks In Inkscape To Fix Objects To The Canvas
How To Use Layer Locks In Inkscape To Fix Objects To The Canvas 1000 587 Nick Saporito

In this tutorial we’ll be going over how to lock objects in Inkscape by using the lock feature within the Layers menu. This will enable you to temporarily fix objects to your canvas so that you don’t accidentally move them around while you’re working. In short, this is accomplished by clicking a single icon within…

read more
Group by color in Adobe Illustrator
How To Group Objects By Color In Illustrator
How To Group Objects By Color In Illustrator 1000 587 Nick Saporito

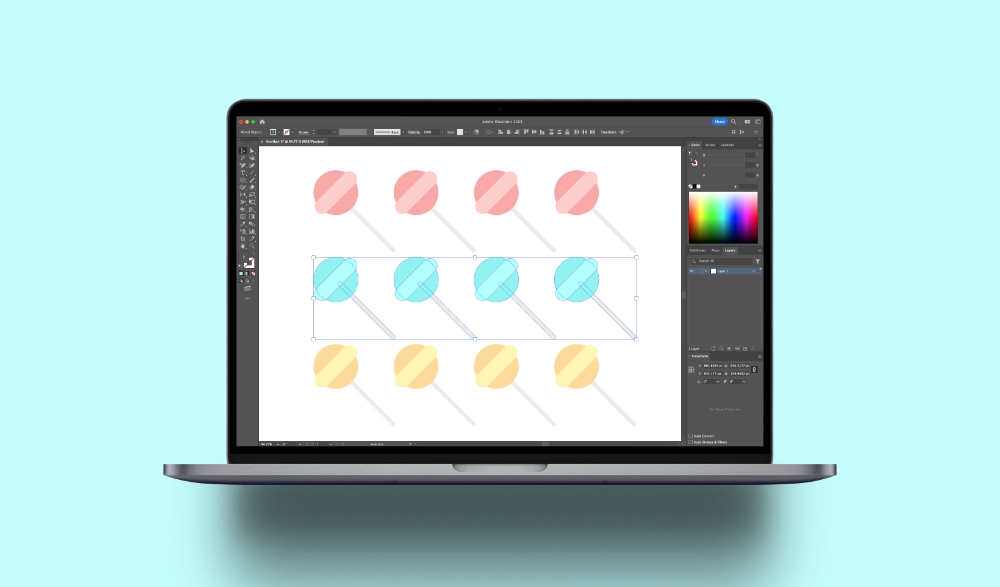
In this tutorial we’ll be going over how to group your objects by color in Adobe Illustrator. This can be useful if you’re working with an array of objects and need to organize your artwork. In short, to accomplish this we just have to select objects by color and then group them together using the…

read more
Applying vector textures with Inkscape
An Easier Way To Apply Vector Textures In Inkscape
An Easier Way To Apply Vector Textures In Inkscape 1000 587 Nick Saporito

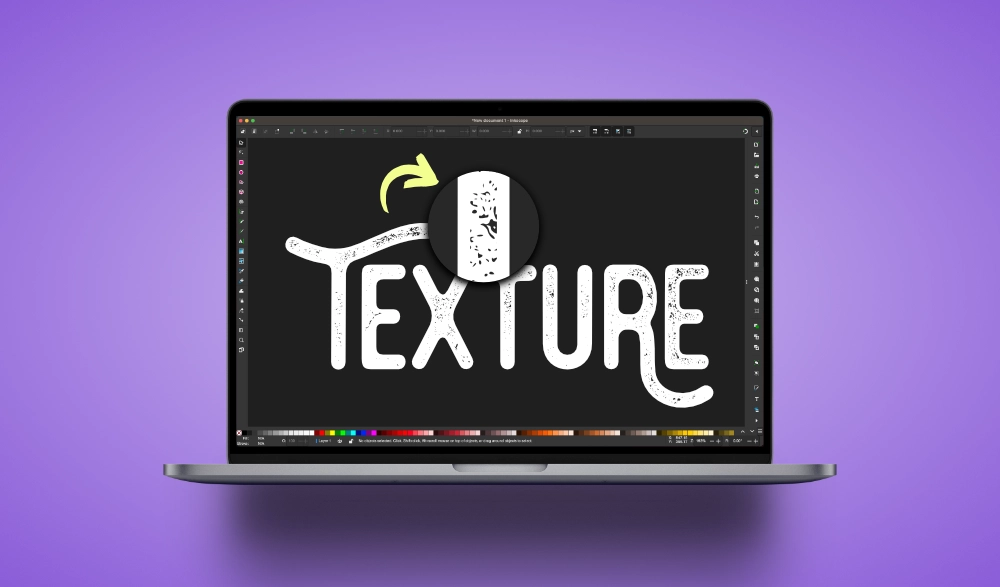
In a tutorial from a few years ago we went over how to apply a distressed effect in Inkscape by using vector textures and path operations. However, in this tutorial we’ll be going over how to apply those vector textures using a more efficient workflow that utilizes some of Inkscape’s newer features. When working with…

read more
Apply vector textures with Affinity Designer
A Simple Trick For Applying Vector Textures In Affinity Designer + Free Texture Pack
A Simple Trick For Applying Vector Textures In Affinity Designer + Free Texture Pack 1000 587 Nick Saporito

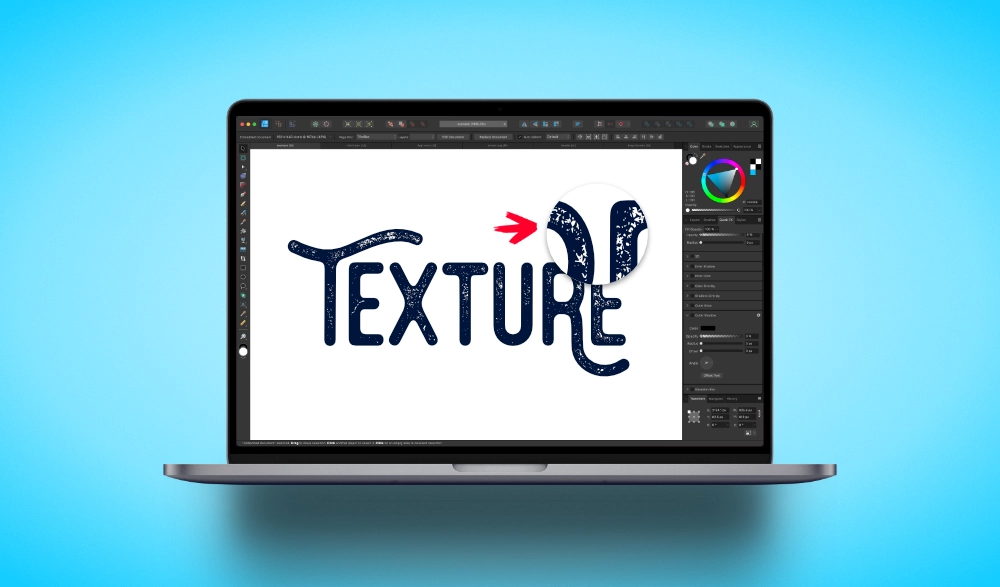
In past tutorials we’ve gone over how to apply pixel-based texture overlays in Affinity Designer using black & white images and layer masks. However, in this tutorial we’ll be going over how to use vector textures instead, which requires an entirely different workflow. When working with a vector-based texture, your first instinct may be to…

read more
Instagram carousel template for Inkscape users
Instagram Carousel Template for Inkscape Users | Free Download + Tutorial
Instagram Carousel Template for Inkscape Users | Free Download + Tutorial 1000 587 Nick Saporito

In this tutorial we’ll be going over how to slice and export your artwork as carousel tiles using Inkscape. The example we’ll be working with today is used to create a carousel for Instagram — or a collection of individual slides that make up a continuous image when placed side-by-side. To do this we will…

read more
Lasso select mode in Inkscape
Lasso Select Mode: The Inkscape Feature Nobody Told You About
Lasso Select Mode: The Inkscape Feature Nobody Told You About 1000 587 Nick Saporito

As you may have already known, you can select multiple objects in Inkscape either by Shift-clicking them or by clicking and dragging to create a rectangular bounding box around them. But what you may not have known is that there is a third option known and Lasso Select mode, and it allows you to quickly…

read more
Fill between paths in Illustrator
Fill Between Paths In Illustrator Using The Live Paint Bucket Tool
Fill Between Paths In Illustrator Using The Live Paint Bucket Tool 1000 587 Nick Saporito

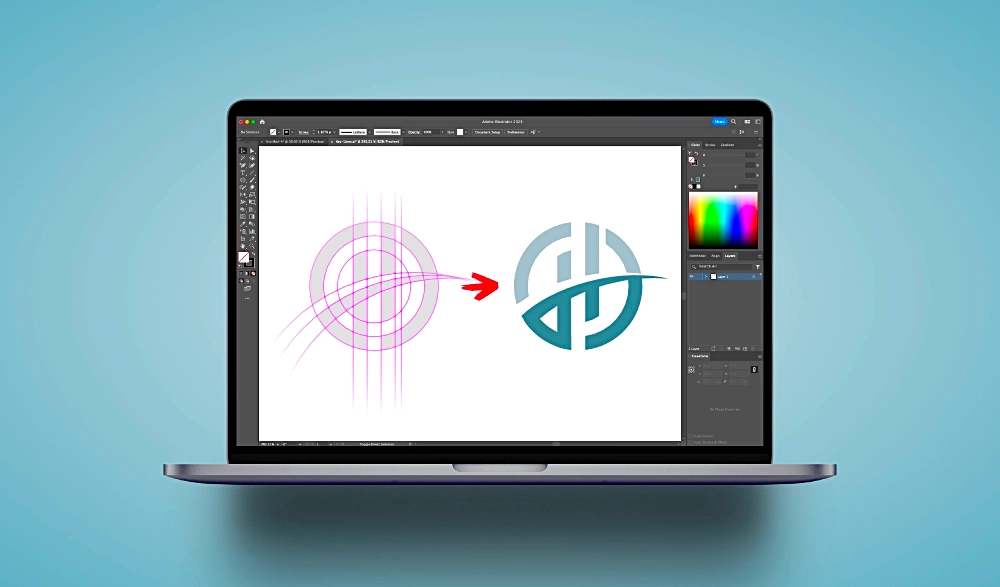
In this tutorial we’ll be going over how to use a lesser-known tool in Illustrator to fill between paths. The Live Paint Bucket Tool can be used to create new shapes based on the empty spaces between intersecting paths, and in this lesson you will learn how. The Problem: Why Can’t I Fill Between Paths?…

read more
How to adjust HSL in Inkscape
Change Entire Color Ranges with HSL Adjustments In Inkscape
Change Entire Color Ranges with HSL Adjustments In Inkscape 1000 587 Nick Saporito

When changing the colors of objects in Inkscape, you typically have to select each individual object one-by-one and apply a fill color to each. But what if you wanted to change an entire range of colors so that you end up with a more consistent result? This is where HSL adjustments come in handy, and…

read more
Use Pantone colors in Affinity Designer
How To Use Pantone Colors In Affinity Designer
How To Use Pantone Colors In Affinity Designer 1000 587 Nick Saporito

In this tutorial we’ll be having a look at how you can find and use Pantone colors in Affinity Designer. Then, we’ll go over how to properly save/export your work as a PDF file with printer marks, registration marks and a color bar. Pantones are a proprietary color space most commonly used when designing for…

read more
Use fonts in Inkscape without installing them
How To Use Fonts In Inkscape Without Having To Install Them
How To Use Fonts In Inkscape Without Having To Install Them 1000 587 Nick Saporito

In previous tutorials we’ve gone over how to install fonts in Inkscape by installing them onto your operating system so that they are indexed each time the software launches. However, in this tutorial we’ll be looking at a different method which allows you to use fonts in Inkscape without having to install them. This can…

read more