A Simple Trick For Applying Vector Textures In Affinity Designer + Free Texture Pack
A Simple Trick For Applying Vector Textures In Affinity Designer + Free Texture Pack https://logosbynick.com/wp-content/uploads/2023/07/vector-textures-affinity-designer.webp 1000 587 Nick Saporito https://secure.gravatar.com/avatar/8e31bf392f0ba8850f29a1a2e833cdd020909bfd44613c7e222072c40e031c34?s=96&d=mm&r=gIn past tutorials we’ve gone over how to apply pixel-based texture overlays in Affinity Designer using black & white images and layer masks. However, in this tutorial we’ll be going over how to use vector textures instead, which requires an entirely different workflow.
When working with a vector-based texture, your first instinct may be to “subtract” it from the object you want to apply it to using Boolean operations. That is not the most efficient approach though, and it may even crash the application depending on how large the file is and how much load your computer can handle.
A much simpler approach would be to use the Erase layer mode and then apply it to the object as a clipping mask. Let’s have a closer look.
Free Vector Texture Pack
If you want to follow along and try this out for yourself then you can download a free pack of vector textures that I’ve put together here: Free-Textures.zip
How To Apply Vector Textures In Affinity Designer
The following video tutorial will walk you through the entire process:
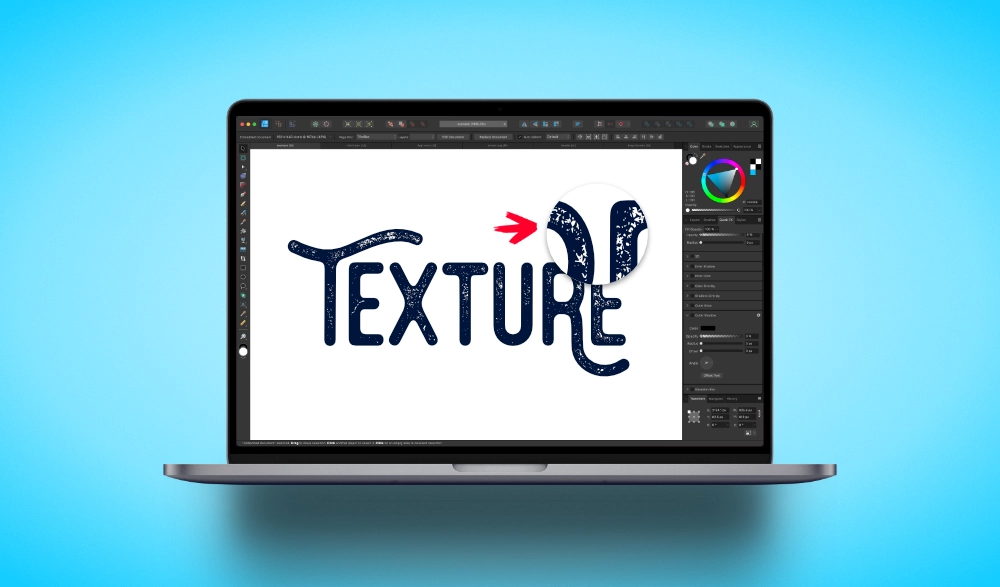
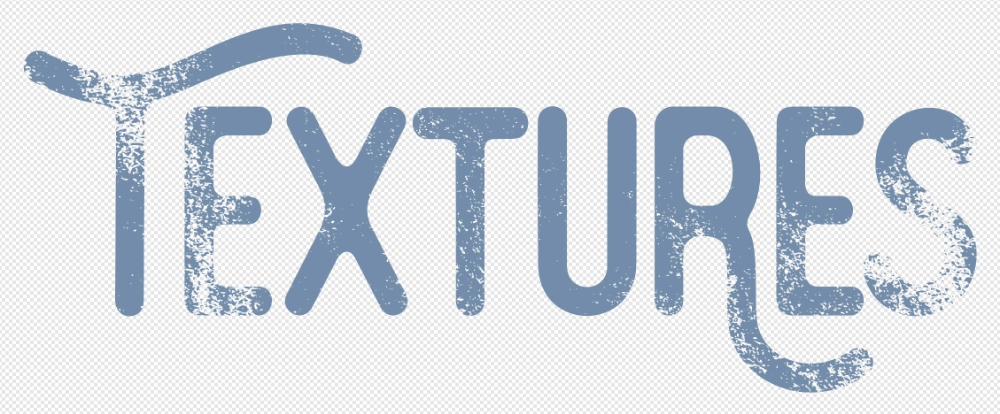
First, import your vector texture and position it on top of your subject:
Make sure to position it exactly where you’d like it to be applied relative to the subject.
To apply it, all you have to do is select it, go to the Layers menu and change the layer mode to Erase. This will subtract the texture from any objects placed beneath it:
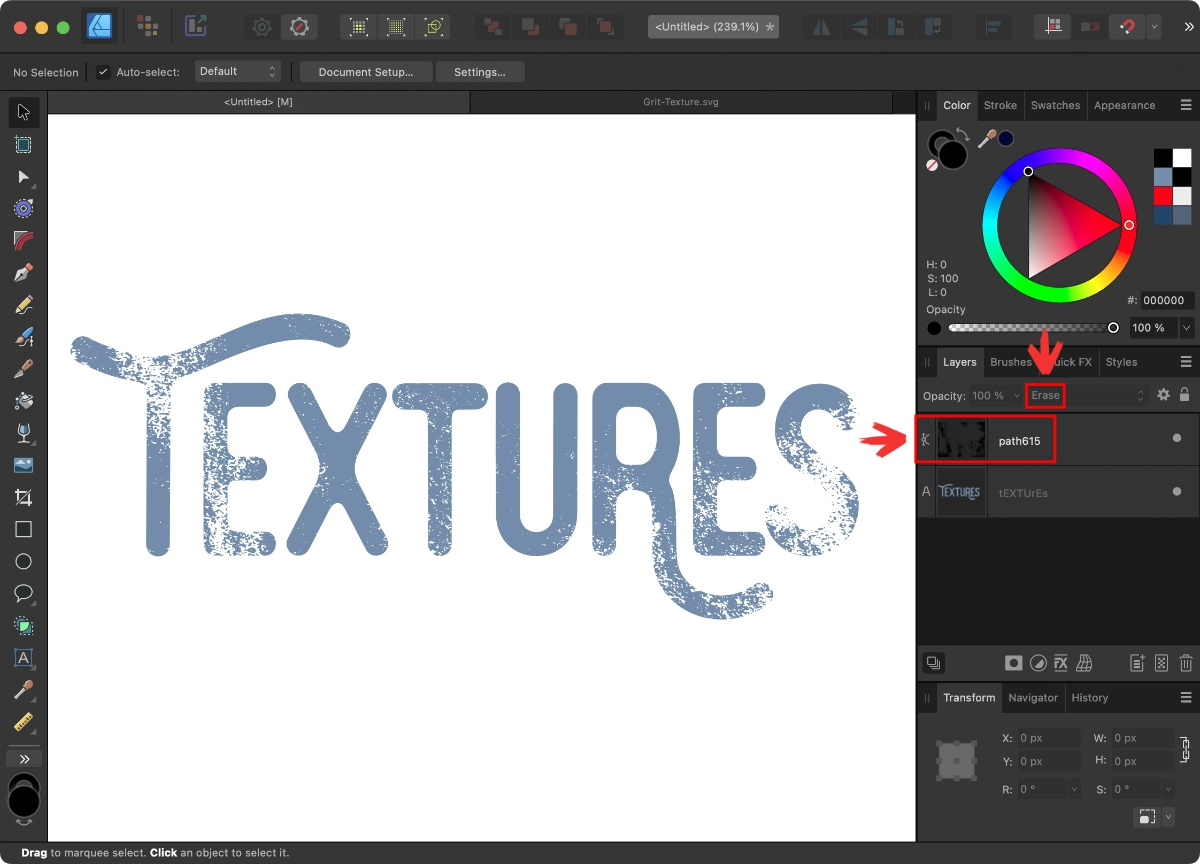
Click to enlarge.
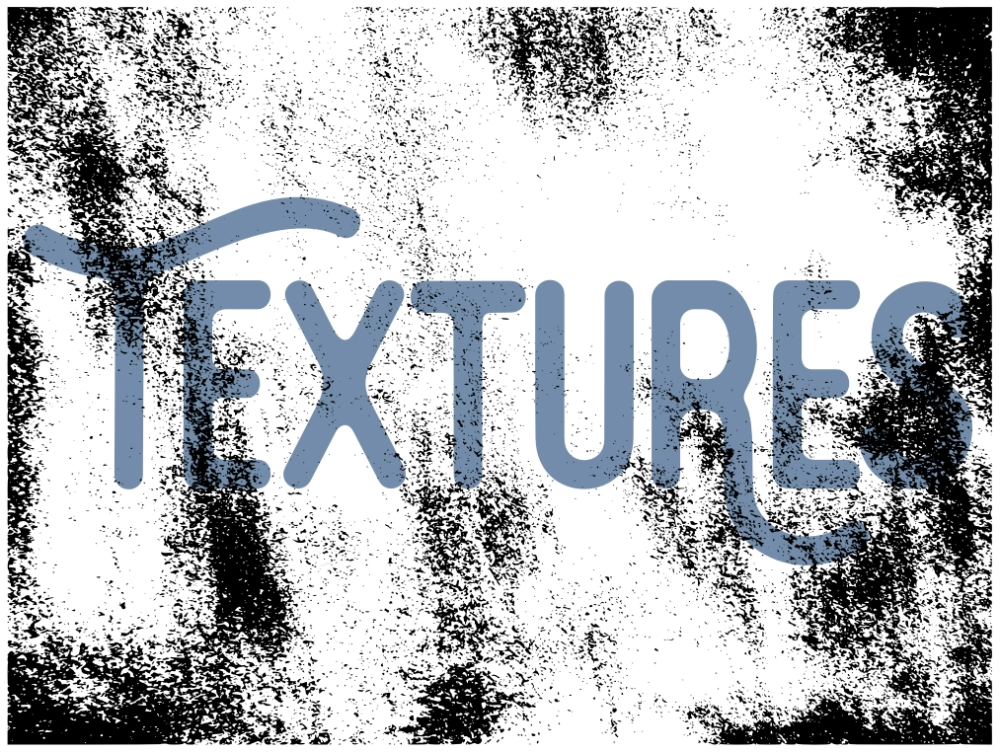
The problem now is that the texture is not confined to the target subject– it is also applied to every other object positioned beneath it, including backgrounds and other design elements.
To apply the texture only to the subject and nothing else, we must make a clipping mask out of it. To do so, click and drag the texture layer on top of the subject layer, hold it there until it highlights blue, then release the click:
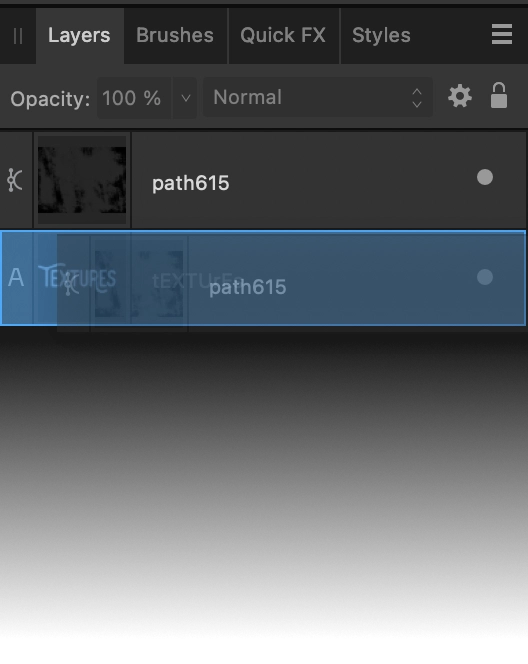
This will create a clipping mask where both layers are combined together into a single layer. That single layer now represents the subject with the texture applied to it and nothing else:
And you can zoom all the way in to confirm that the vector nature of the texture has been preserved.
The Best Part? It’s Non-Destructive
A benefit of using layer modes to apply vector textures in Affinity Designer is that the effect is completely reversible later on if need be.
To do so, simply expand the layer in the Layers menu and pop the texture layer out of the group by clicking and dragging it onto its own layer. And you can also change the texture’s layer mode back to Normal if you want to revert back to its previous state.
Learn To Master The SoftwareGain a complete understanding of your favorite design apps with my comprehensive collection of video courses. Each course grants access to our private community where you can ask questions and get help when needed.
|
||||||||||||||||||||||||||||||||