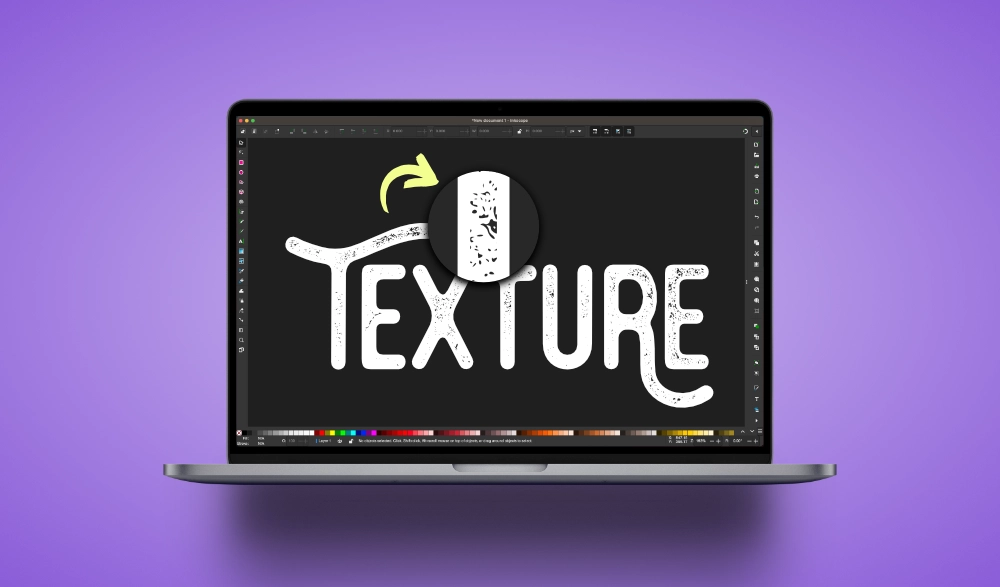
An Easier Way To Apply Vector Textures In Inkscape
An Easier Way To Apply Vector Textures In Inkscape https://logosbynick.com/wp-content/uploads/2023/07/vector-textures-inkscape.webp 1000 587 Nick Saporito https://secure.gravatar.com/avatar/8e31bf392f0ba8850f29a1a2e833cdd020909bfd44613c7e222072c40e031c34?s=96&d=mm&r=gIn a tutorial from a few years ago we went over how to apply a distressed effect in Inkscape by using vector textures and path operations. However, in this tutorial we’ll be going over how to apply those vector textures using a more efficient workflow that utilizes some of Inkscape’s newer features.
When working with vector texture files in Inkscape, the old way of doing things was to apply them with path operations (such as “Path > Diffference“). But the problem with using this approach is that it can slow down (or even crash) your system because of the staggering amount of nodes in a vector texture file.
This is where Inverse Masking comes into play. It’s a relatively new feature in Inkscape which allows you to apply vector textures as a mask instead of processing thousands of nodes. What’s more, the mask is temporary, meaning you can release and revert the texture (and subject) back to its original state later on if you want to. Let’s have a look.
Apply A Vector Texture In Inkscape
The video tutorial below will walk you through the entire process:
To get started you will need some vector textures to work with. You can download my free texture pack here or you can purchase my bundle of 180+ vector textures here.
Once downloaded, drag and drop one of the SVG files onto your canvas to import it, then position it directly over the object you’d like to apply it to:
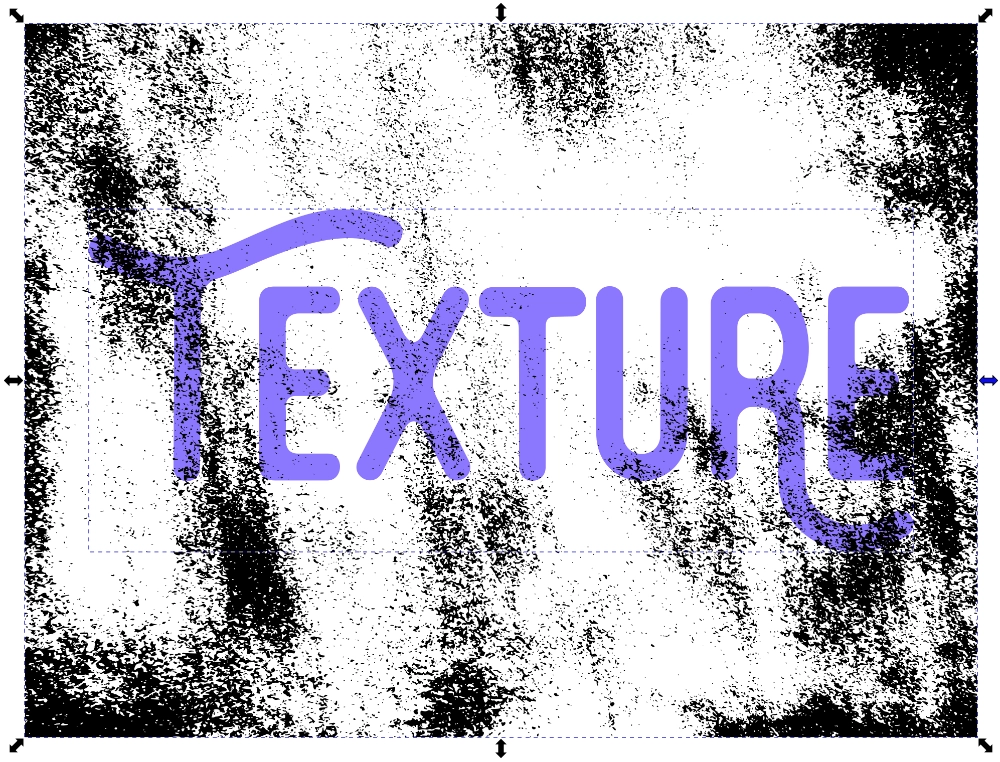
The texture must be positioned on top of the object otherwise what we are going to do won’t work.
Please note that this workflow we’re about to use only works on vector paths. So if you’re trying to apply it to a text object or a shape, be sure to convert it to a path first by selecting it and going to:
Path > Object To Path
Once you have your texture lined up to where you’d like to applied on your subject, select them both and navigate to:
Object > Mask > Set Inverse Mask
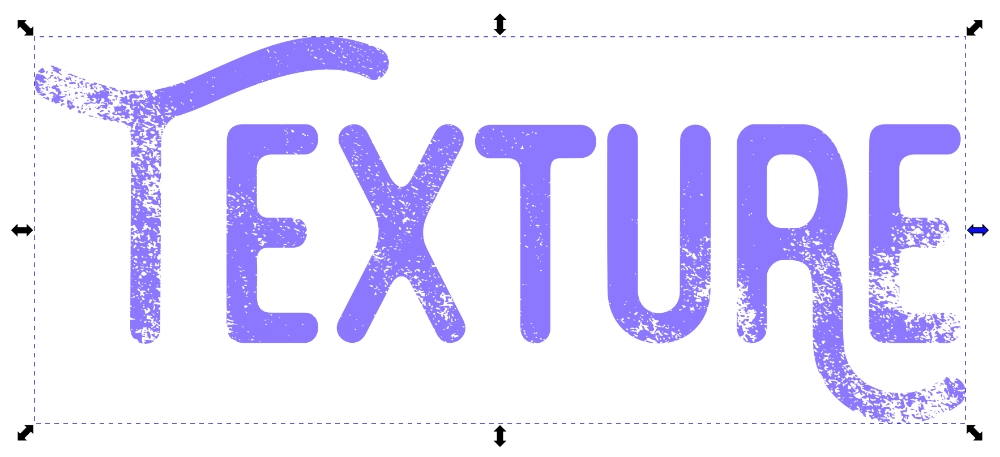
Once applied, the texture will be applied to the subject beneath it as an inverted layer mask:
You can zoom into the fine details to confirm that the vector nature of the texture has been preserved. You can also place the object over a dark backdrop to confirm that the textured areas represent empty (or transparent) space:
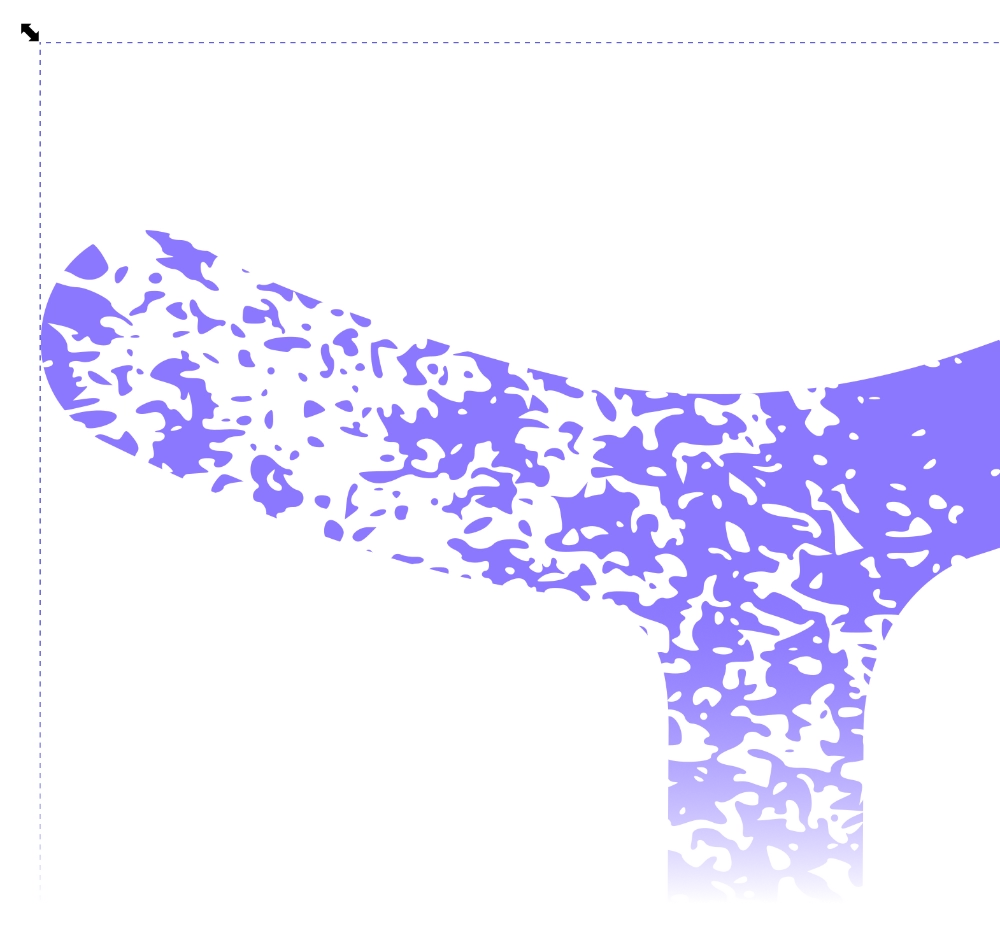
No pixelation!
How To Remove The Texture
The other great thing about using inverse masks to apply vector textures in Inkscape is that it is entirely non-destructive, meaning you can revert both objects back to their previous states if you desire.
To do so, just select it and navigate to:
Object > Mask > Release Mask
This will essentially undo the mask and you will have your fully-preserved texture and the original subject as separate objects again.
Learn To Master The SoftwareGain a complete understanding of your favorite design apps with my comprehensive collection of video courses. Each course grants access to our private community where you can ask questions and get help when needed.
|
||||||||||||||||||||||||||||||||


Leave a Reply