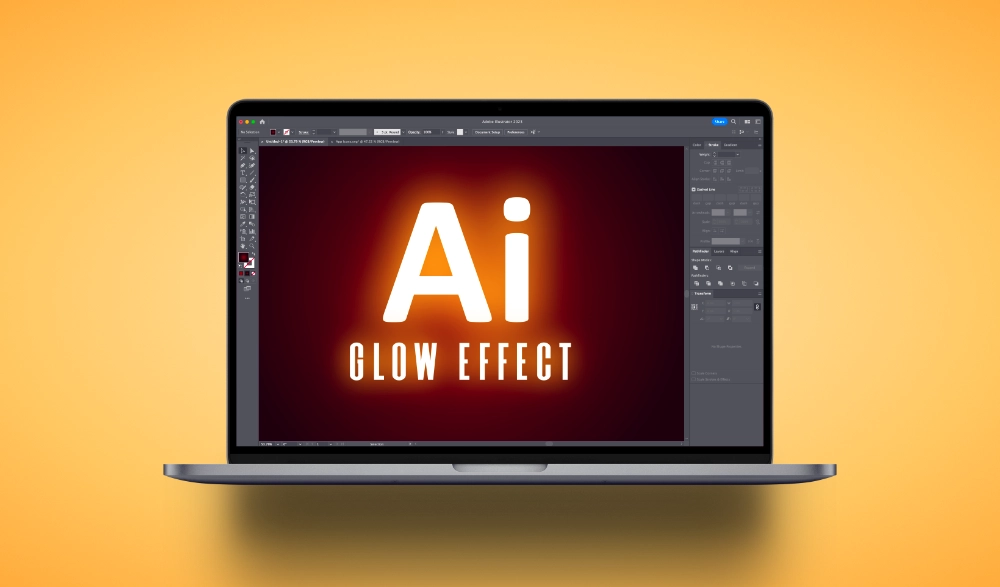
Create A Glow Effect In Adobe Illustrator | Tutorial
Create A Glow Effect In Adobe Illustrator | Tutorial https://logosbynick.com/wp-content/uploads/2023/06/illustrator-glow-effect.webp 1000 587 Nick Saporito https://secure.gravatar.com/avatar/8e31bf392f0ba8850f29a1a2e833cdd020909bfd44613c7e222072c40e031c34?s=96&d=mm&r=gIn this tutorial we’ll be going over how to create a simple glow effect in Illustrator. The example we’ll be using is a single line of text. The glow effect will make it appear as if the object is emitting soft light from behind it.
In short, there’s various workflows for creating a glow effect in Illustrator, but the simplest approach would be to use the Outer Glow effect. Let’s have a closer look at what it does and how to use it.
Creating A Glow Effect In Illustrator
The following video tutorial will walk you through the entire process, step-by-step:
That said, the process is simple enough if you just want to follow the written tutorial.
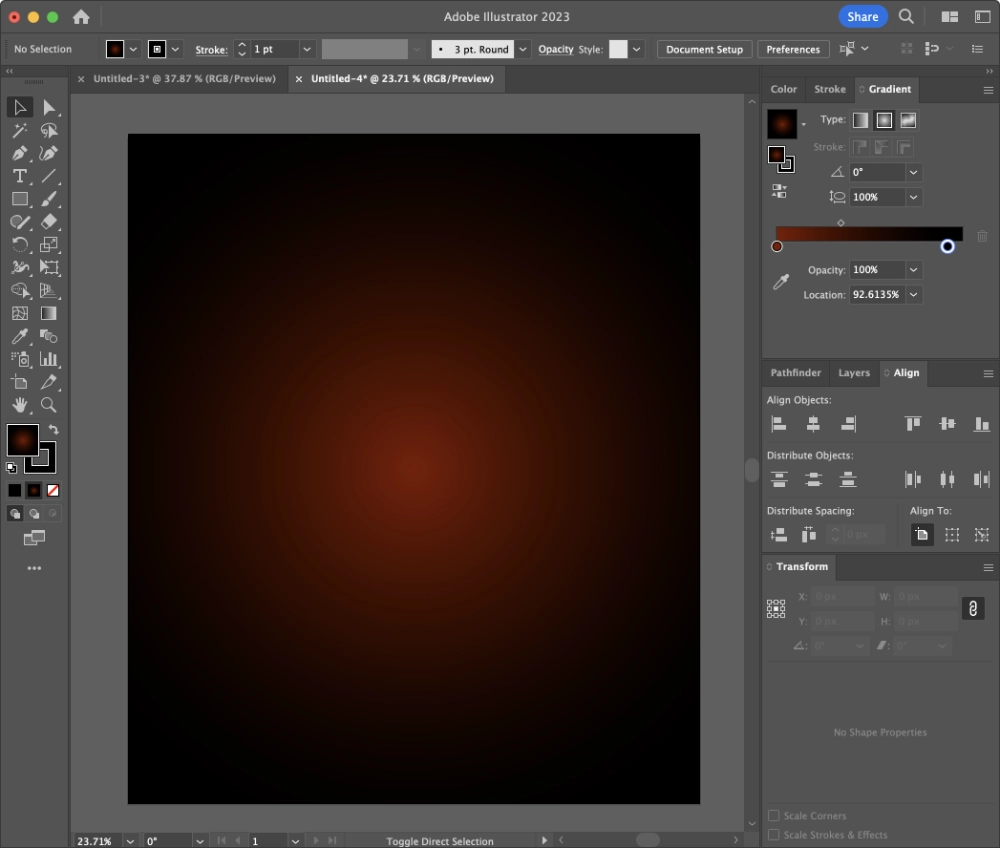
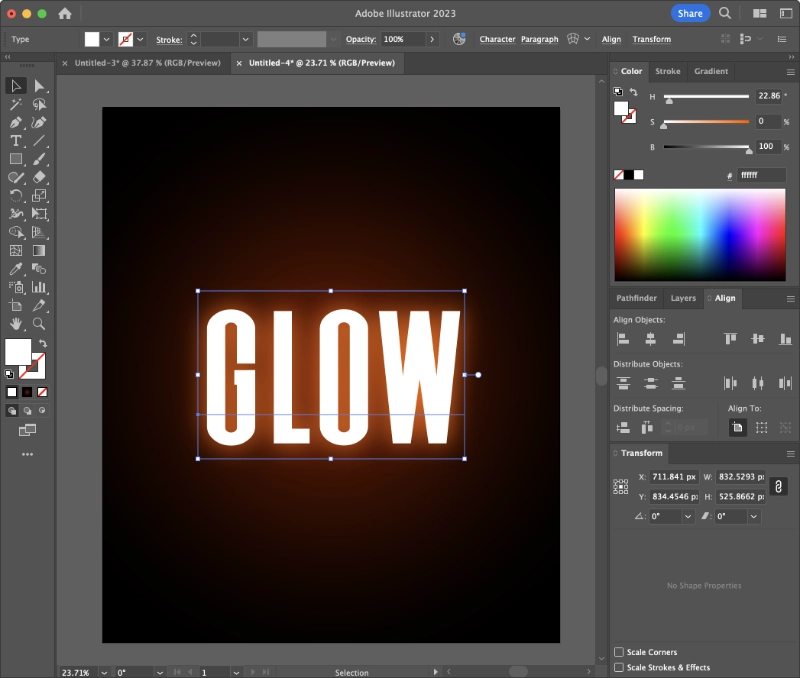
To start out, it is recommended that you create some kind of dark backdrop to place your glowing object on top of. This will make the effect more visible.
For this demonstration I have created a rectangle with a radial gradient:
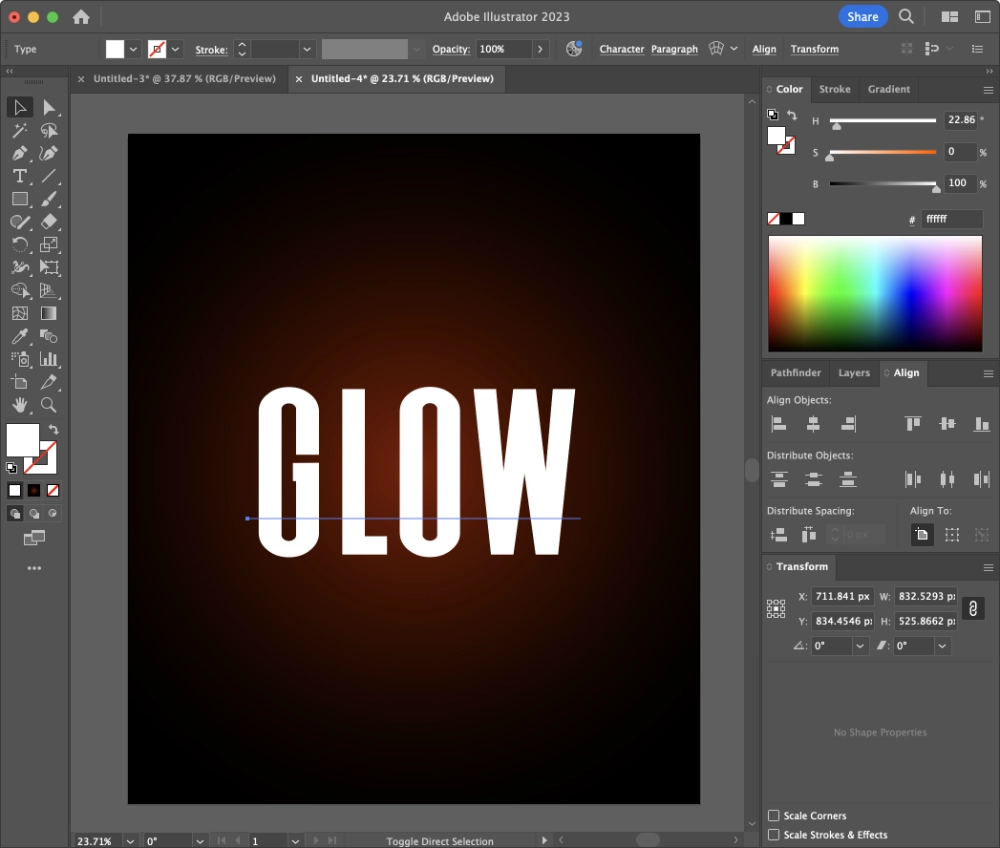
Now generate some text and make it white:
To apply the glow effect, all we have to do is [with the text selected] navigate to:
Effect > Stylize > Outer Glow
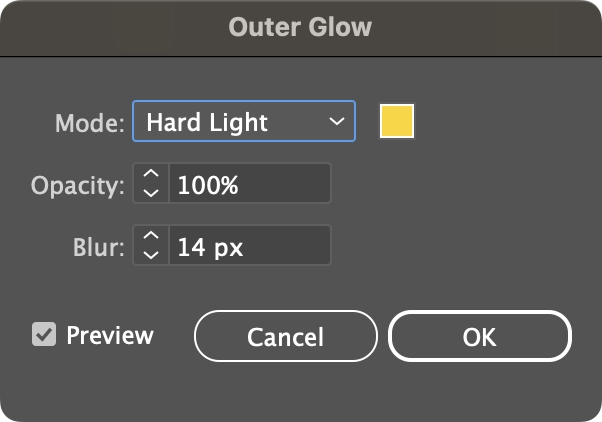
Once selected, the following menu will populate:
Click to enlarge.
Let’s have a look at what each of these options controls:
Specify A Glow Color
In the Outer Glow menu, click the square color box to the right of the Mode dropdown. A color selector will populate:
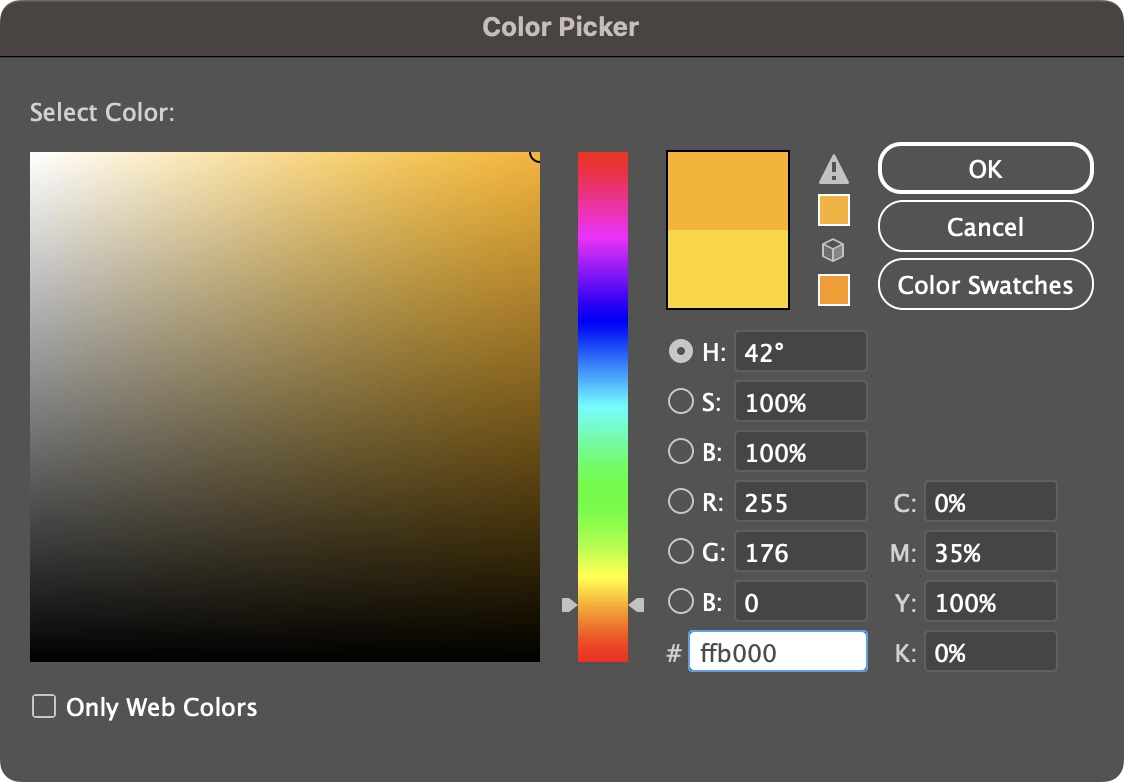
Use this interface to choose a color for your glow. You can choose colors manually or by inputting your own numerical values, whether it be HEX, RGB, CMYK or HSB. Click OK once you have chosen your color.
Make sure to tick the Preview box at the bottom of the menu so you can see how your changes look as you apply them:
Set The Glow’s Brightness
Now we are going to determine the intensity of the glow by adjusting the Opacity setting.
A high opacity will make the glow more intense and visible, whereas a lower opacity will dim it:
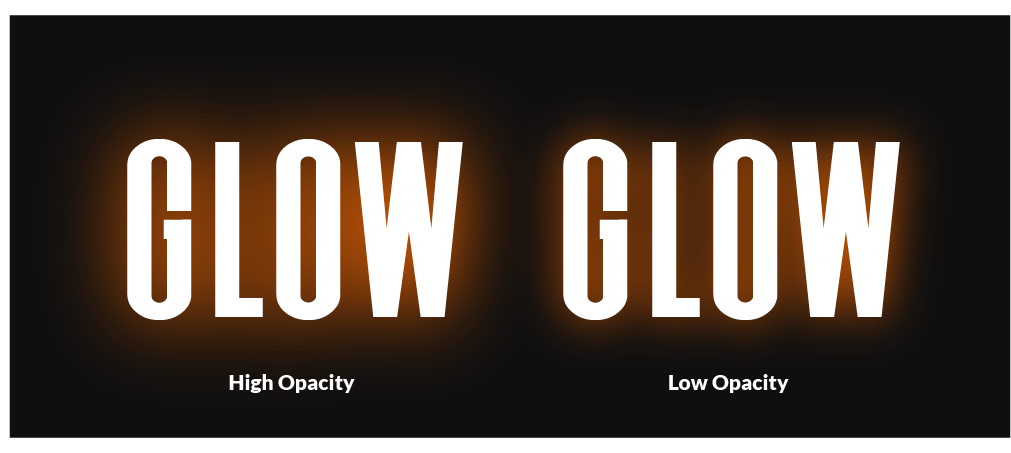
The variation on the left has a brighter glow because the opacity value is higher.
Set The Glow’s Size
Using the Blur setting, we can determine how large or small of an area the glow will occupy.
The higher the Blur value is, the more surface area it covers. This will cause the glow to be softer as well. A lower blur value, on the other hand, will make the glow smaller and more defined:
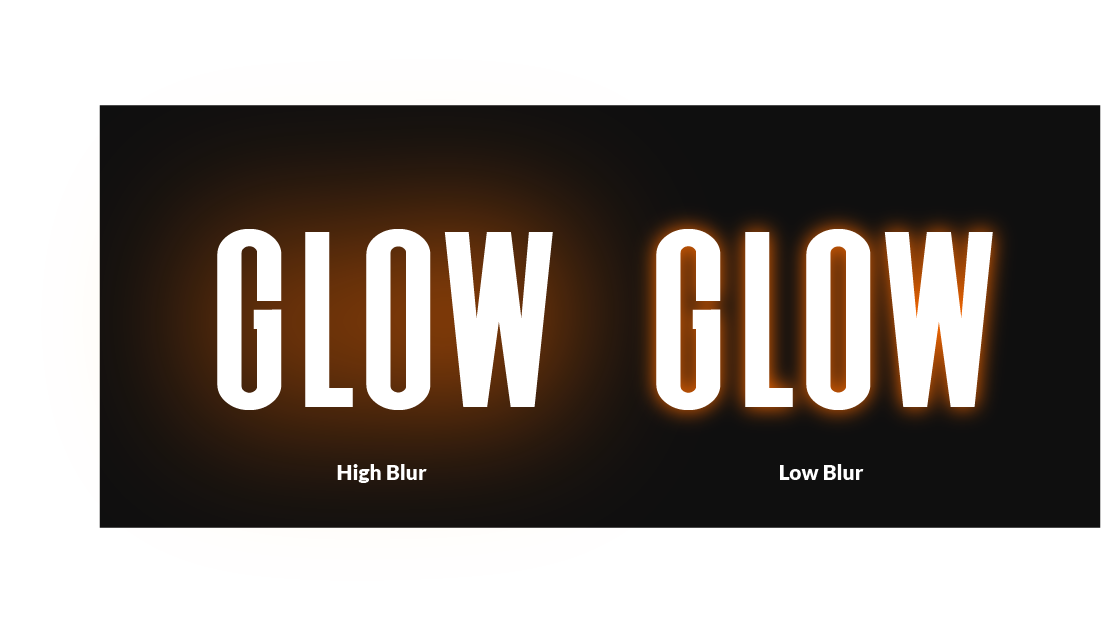
The variation on the left is larger and softer because it has a greater Blur value.
Set The Blend Mode
Finally, you can use the Mode dropdown at the top of the menu to change the blend mode of your glow.
Blend modes allow you to change how colors interact with each other when layered together. For a glow that most accurately represents your chosen color, just set the mode to Normal.
Depending on the color and backdrop being used, some blend modes may work better than others for your particular image, so be sure to cycle through the list to see if any of them make your glow pop.
Apply Your Changes
Once you have adjusted the glow settings to your preference simply click the OK to apply the changes and you are done.
How To Edit Or Remove The Glow
The good thing about working with the glow effect in Illustrator is that it can be easily edited or disabled later on if need be.
To do so, select the object and open the Appearance menu, located under:
Window > Appearance
The menu should look something like this:
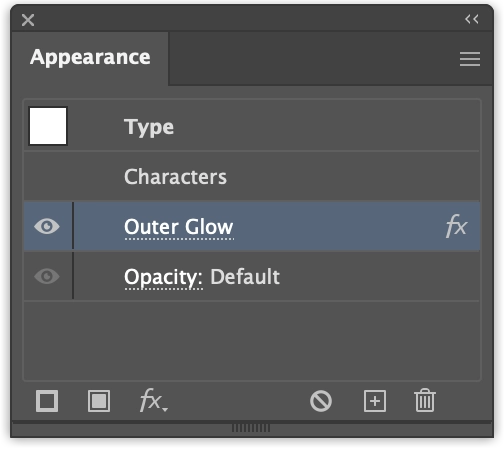
The Appearance menu can be used to edit or remove the glow effect.
Simply click the link labeled Outer Glow and the menu will re-populate with all of your settings as you previously left them.
If you’d like to remove the glow entirely then highlight it in the menu and click the trashcan icon at the bottom-right of the menu to delete it.
In Conclusion
As mentioned earlier, there’s various ways to apply a glow in Illustrator. For example, this effect could be created manually by offsetting duplicated copies and applying a Gaussian blur. That said, the Outer Glow effect can make this a much quicker and easier process.
Learn To Master The SoftwareGain a complete understanding of your favorite design apps with my comprehensive collection of video courses. Each course grants access to our private community where you can ask questions and get help when needed.
|
||||||||||||||||||||||||||||||||


