How To Apply A Paper Texture In Procreate
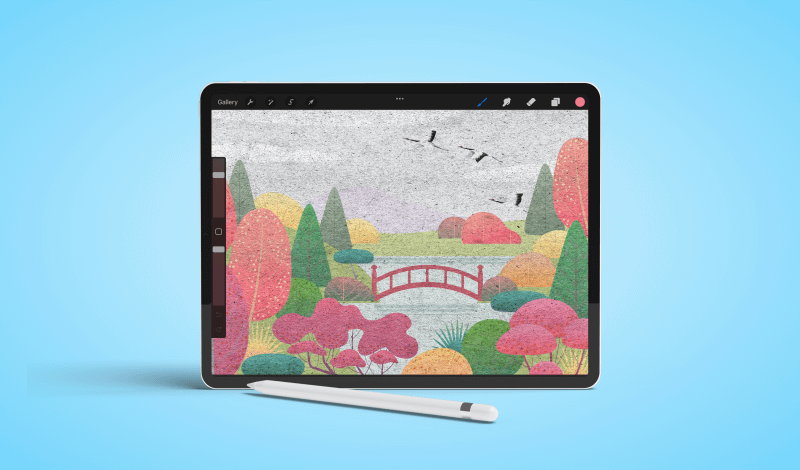
How To Apply A Paper Texture In Procreate https://logosbynick.com/wp-content/uploads/2022/03/procreate-paper-texture-2.png 800 470 Nick Saporito https://secure.gravatar.com/avatar/8e31bf392f0ba8850f29a1a2e833cdd020909bfd44613c7e222072c40e031c34?s=96&d=mm&r=gIn this tutorial we’ll be going over how to apply a paper texture in Procreate so that your artwork looks like its made of paper. This can be applied to a design you’ve already created, or it can be done in such a way that allows you to paint with a paper texture.
As a Procreate user, you may initially think that this is done using custom brushes. That can work, but we’ll be using a different approach in this lesson. Instead, we’ll be making our paper texture in Procreate by importing a texture asset, layering above the contents of the design, and applying a blend mode to change how it interacts with the layers beneath it. Let’s dig in!
Apply A Paper Texture In Procreate
The following video tutorial will walk you through the entire process, step-by-step:
If you are still a newcomer to Procreate for the iPad then it is recommended that you follow the video tutorial. The written instructions may be a little difficult to interpret due to the steps involved.
Table of ContentsApply A Paper Texture
Adjusting The Paper Texture |
Apply A Paper Texture
In this first part of the lesson we will be going over how to apply a paper texture in Procreate. Then, we will be going over how to tweak and adjust the texture to accommodate the composition of the artwork you’re applying it to.
The following steps assume that you already have a document open. It can be a blank document or artwork you’ve already created. Either one will work.
Step 1: Import the paper texture onto your workspace
Let’s first import the paper texture onto the workspace.
Download the paper texture here:
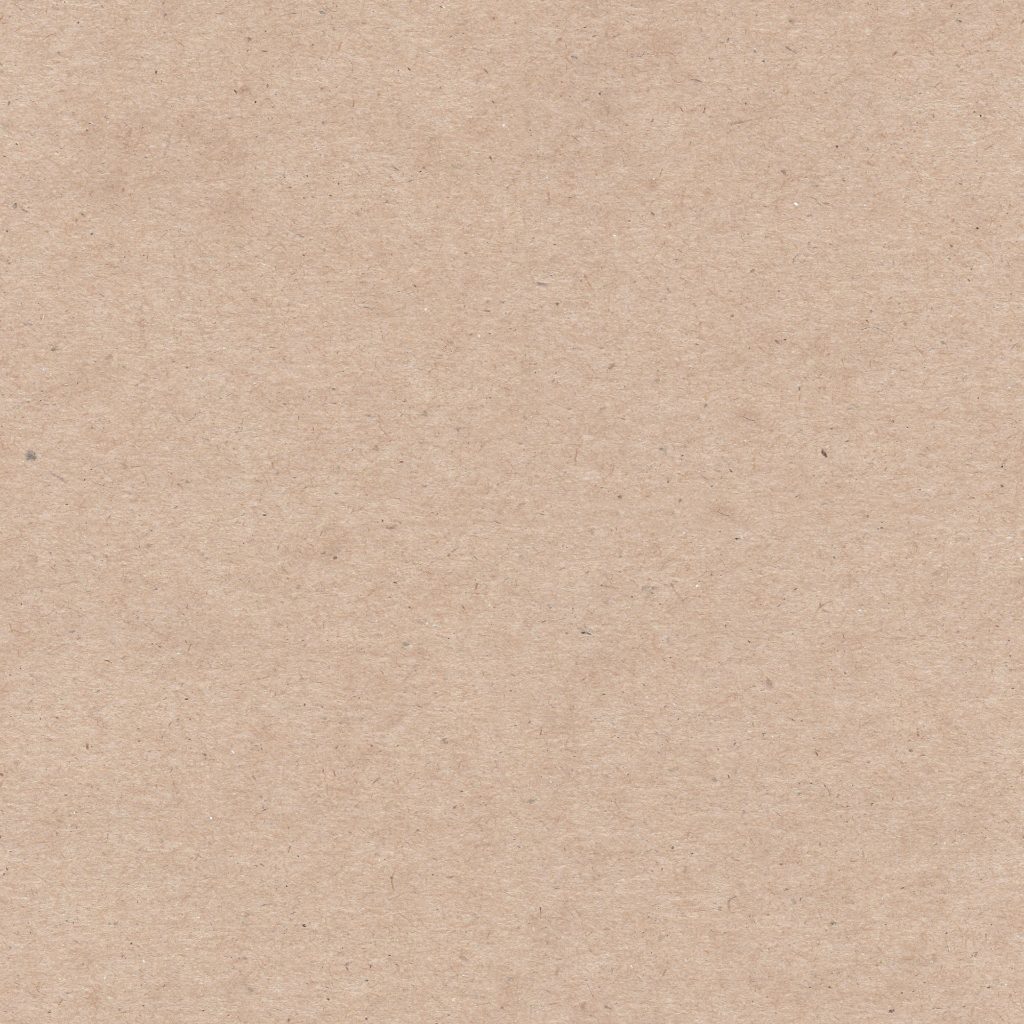
Click to download
Copy the texture image to your clipboard and then paste it onto your workspace via the Actions menu. Select Paste.
Select Freeform in the selection menu at the bottom of the screen, enable Snapping, then scale the texture to fit your canvas:
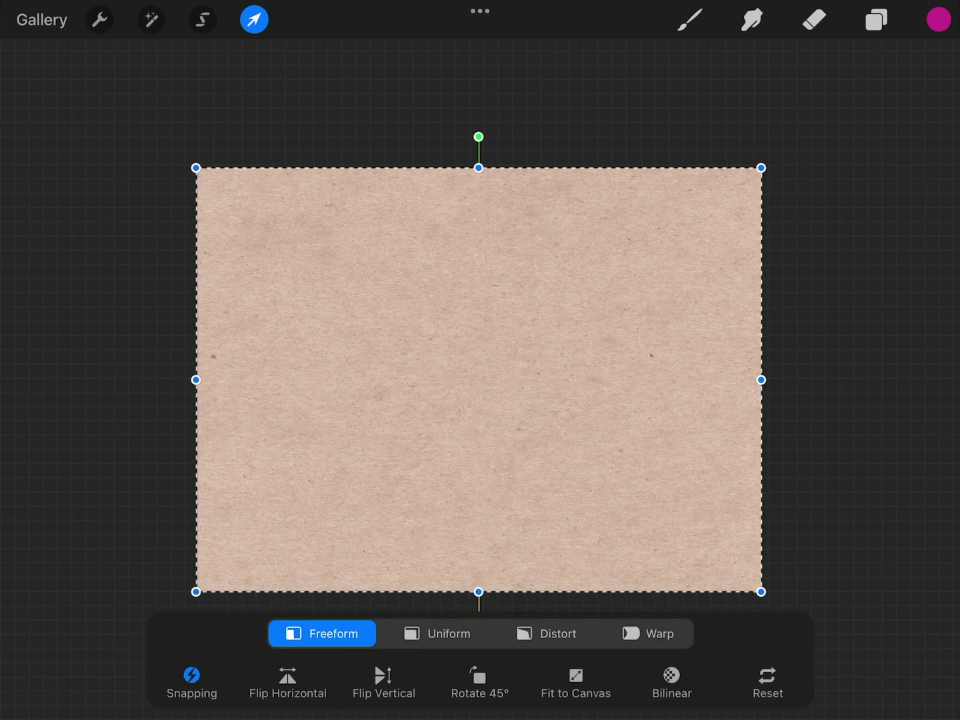
Resize the texture image so that it fits completely over your canvas.
You may want to disable snapping afterwards, otherwise it will get in the way later on when working.
Step 2: Change the blend mode of the texture layer to Hard Light
Now we need to change the way that the texture interacts with other design elements on the page. For this we will be changing the blend mode of the layer it’s on.
Open the Layers menu and tap on the little “n” icon just to the left of the layer’s check box. Select Hard Light from the list:
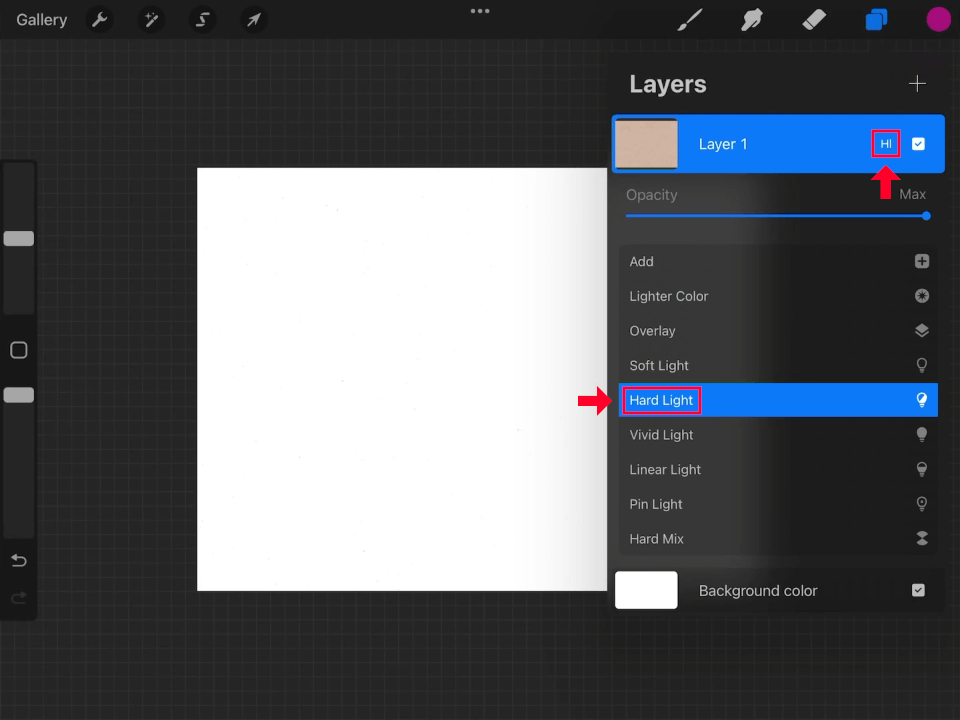
Changing the blend mode makes it so that the artwork beneath the layer shows through with a paper texture.
Close out of the menu once you are finished.
Step 3: Add a new layer beneath the texture layer and begin painting
At this point we have now applied a paper texture in Procreate. All you have to do now to test it out is add a new layer, position it beneath the texture layer, then begin painting to see the effect:
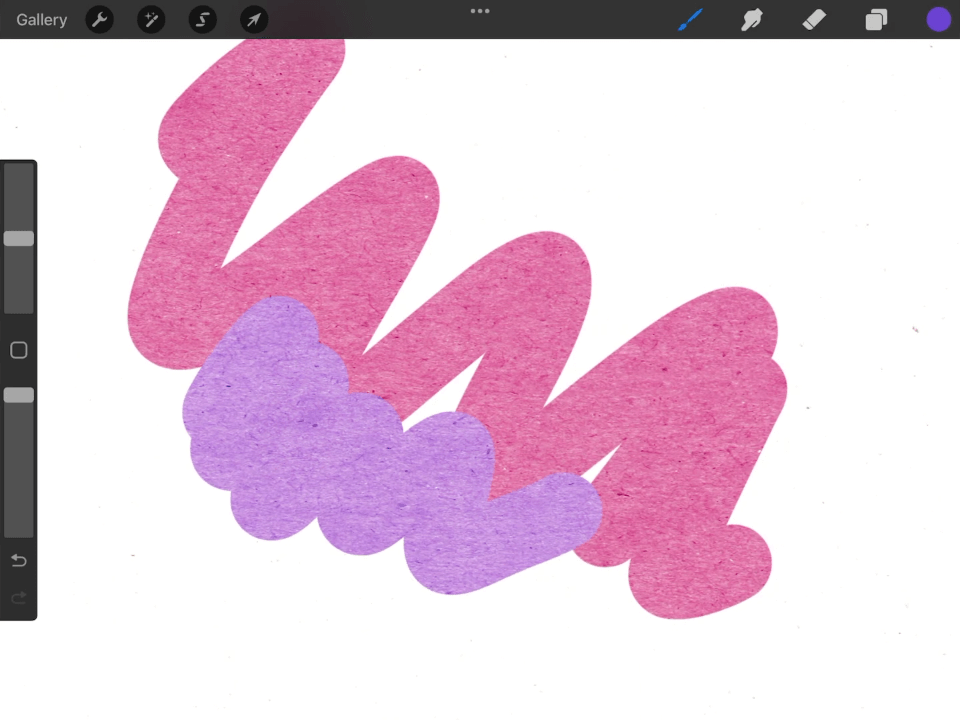
Once the paper texture is applied, anything your draw will have the texture applied as well.
And that’s it!
Adjusting The Paper Texture
Now that we’ve gone over how to apply a paper texture in Procreate, let’s have a look at some of the ways that you can adjust the texture so that it’s more flattering to your design.
Remove Saturation
When painting with the paper texture applied you may notice that the colors aren’t precisely accurate. This is because the paper texture we used has a modest amount of color in it, which is interacting with the other colors in your workspace.
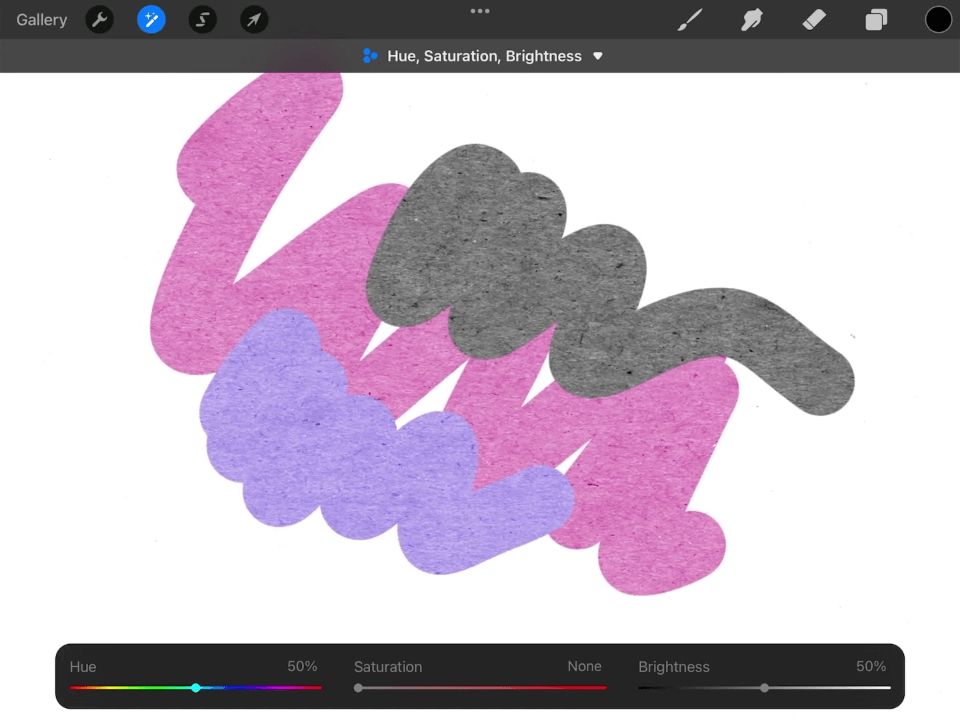
This is especially true for the color black:

As depicted above, black looks nothing like black with the texture applied.
To correct this, we must completely remove the saturation from the texture image.
Open the Adjustments menu, select Hue, Chroma, Saturation and bring the Saturation slider all the way down (to the left.) Once applied, the colors should look a little more accurate:
How the texture looks with the saturation removed.
Sharpen The Texture
If you’d like the texture of the paper to be more defined then sharpening the texture image will help bring out the finer details. This can be especially helpful if you’re using a color that doesn’t display the texture as well as other colors in your composition.
Open the Adjustments menu and select Sharpen. Swipe right across the screen to sharpen the image.
This will make the paper texture more prominent and defined:
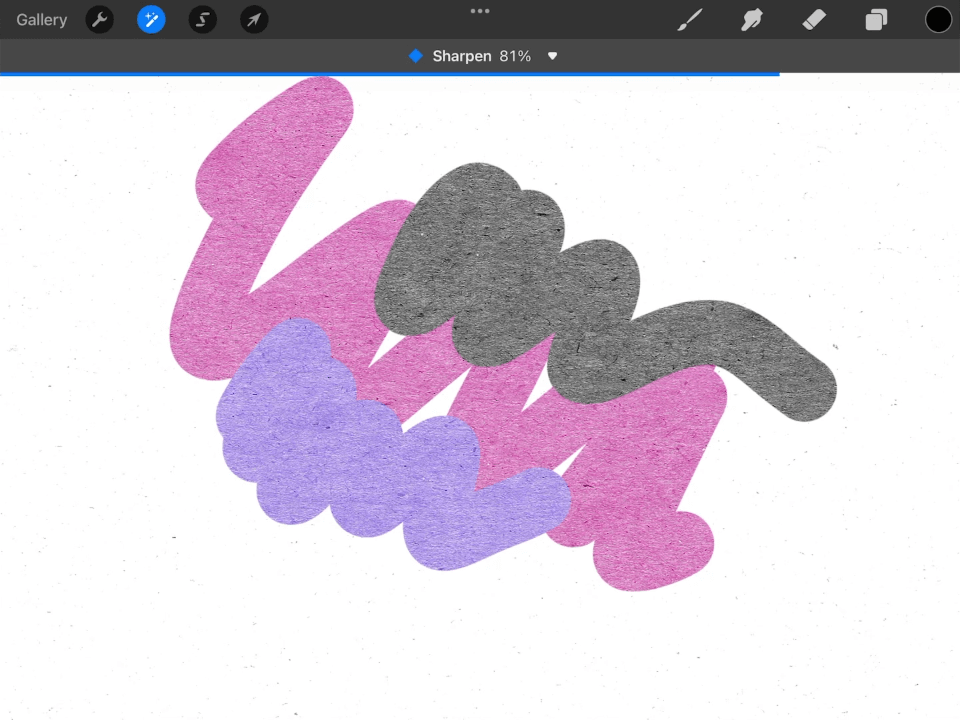
Sharpening the texture makes it more prominent.
The degree to which you should sharpen the texture depends entirely on your artwork. Every design is different, so make sure to only sharpen the texture as much as it needs to be.
Adjust The Color Curves
The final tweak you may want to make to a paper texture that you’ve applied to your artwork is adjusting the color curves. This will give you further control over the intensity of the texture.
Navigate back to the Adjustments menu and select Curves.
Select the Gamma option from the menu at the bottom of the screen, then take the node in the bottom-left corner and slowly slide it to the right.
As you do so, you should notice that the paper texture becomes more pronounced:
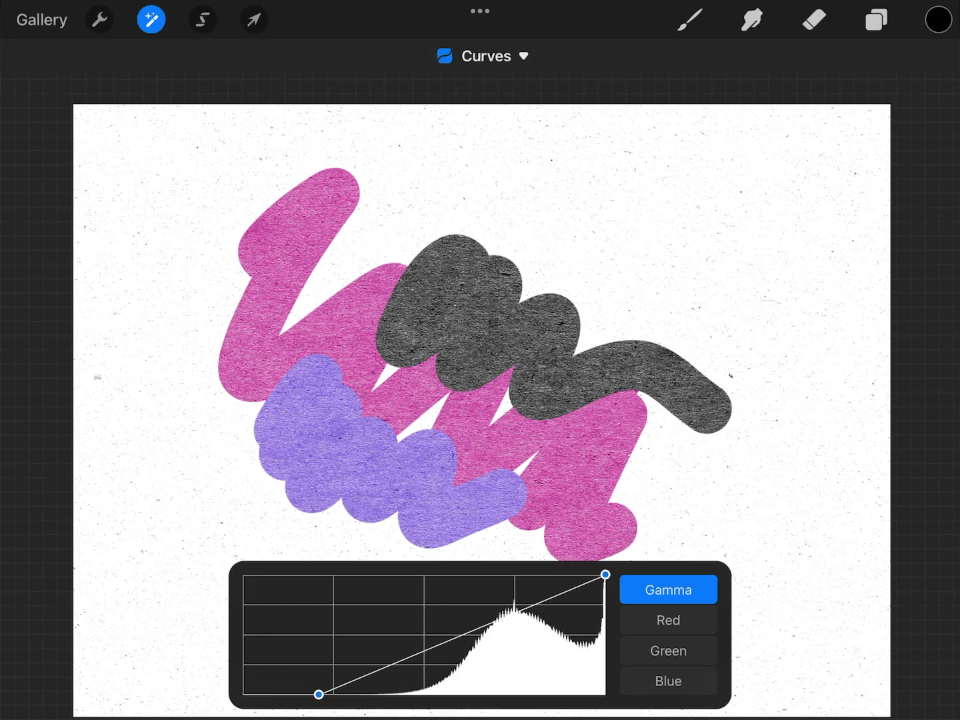
You may also want to take the node in the top-right corner and slide that left to further enhance this effect.
Again, the amount you should apply will depend entirely on your artwork. Use discretion.
Conclusion
Applying a paper texture in Procreate using this method is a much different approach then using paper-style brushes. This approach allows you to continue drawing with all of your favorite brushes, only now a paper texture will be added on top of it.
If you have any questions or need clarification on any of the steps taken in this lesson, simply leave a comment below.
Learn To Master The SoftwareGain a complete understanding of your favorite design apps with my comprehensive collection of video courses. Each course grants access to our private community where you can ask questions and get help when needed.
|
||||||||||||||||||||||||||||||||


