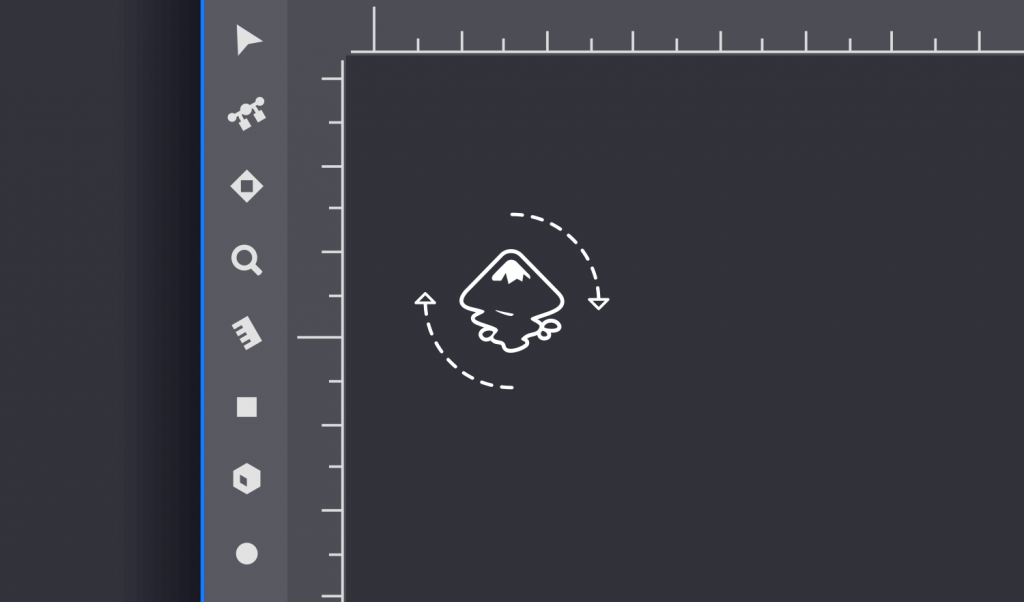
Rotating Objects in Inkscape | The Complete Beginner’s Guide
Rotating Objects in Inkscape | The Complete Beginner’s Guide https://logosbynick.com/wp-content/uploads/2019/09/inkscape-rotate-objects-1024x602.png 1024 602 Nick Saporito https://secure.gravatar.com/avatar/8e31bf392f0ba8850f29a1a2e833cdd020909bfd44613c7e222072c40e031c34?s=96&d=mm&r=gIn this post I’ll be going over how to rotate objects in Inkscape; including rotating multiple objects and rotating objects around a point.
Rotating Objects in Inkscape
Rotating objects in Inkscape is so incredibly simple that there isn’t even a dedicated tool for it like there is in Illustrator — it’s all done with the Select tool. Here’s a brief overview of how it works.
Rotating An Object
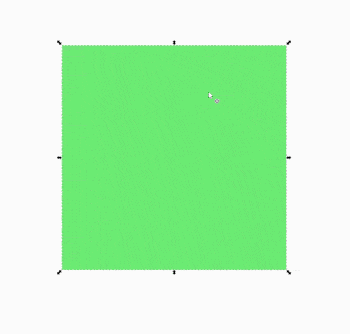
To rotate an object, first grab the Select tool and click on the object in order to select it. You will notice the scaling handles around the perimeter of the bounding box, represented by the black arrows. You can click and drag on these arrows to scale your object.
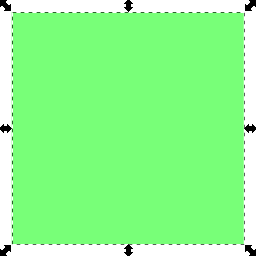
Once you have your object selected, simply click on it again to bring up the rotation handles.
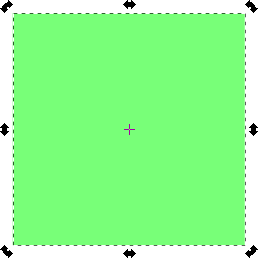
You can now click and drag on those handles to rotate your object.
Rotating An Object Around A Point
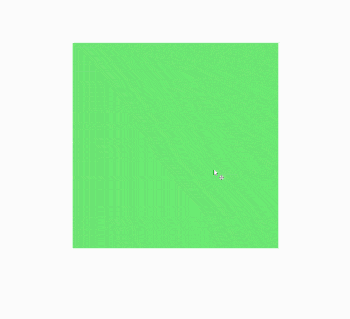
Rotating an object around a point in Inkscape is quite simple. Once you bring up your rotation handles, you’ll see a tiny cross in the center of the object. That cross represents the axis on which the object rotates. You can click and drag that cross and place it anywhere you’d like on the canvas.
Rotating Multiple Objects
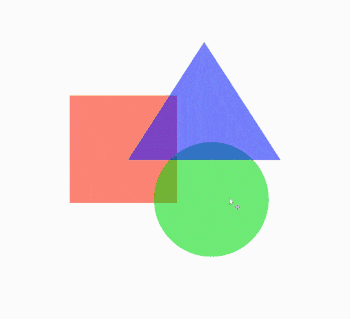
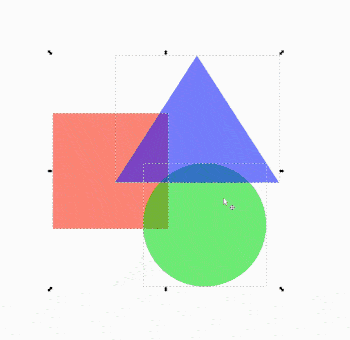
Rotating multiple objects with Inkscape is similarly easy. All you have to do is select all of the objects you’d like to rotate. You can select multiple objects by holding Shift and clicking on each of them.
Once you’ve selected multiple objects, you can rotate them the same way you’d rotate a single object — by clicking on one of them with the Select tool in order to bring up the rotation handles, then using the rotation handles to rotate your multiple objects.
Rotating Multiple Objects Around A Point
You can rotate multiple objects around a point the same way you would a single object — by placing the little cross in the center of the design wherever you’d like the rotation point to be.
Incremental Rotation
If you’d like to rotate object(s) incrementally, you can hold Control on your keyboard while clicking and dragging. This will confine the rotating to 15 degree increments.
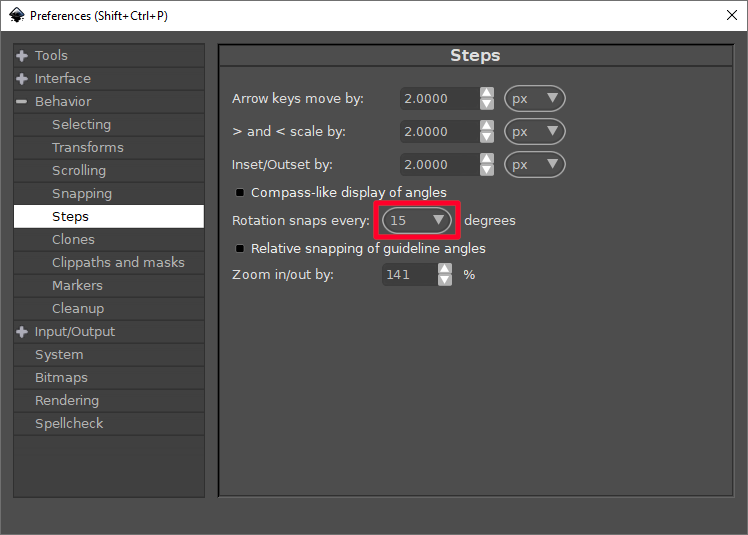
If you’d like to change the incremental units, you can do so by going to Preferences (control + shift + p), then navigating to Behavior -> Steps and changing the value from 15 to whatever you’d like.
And that should do it for this lesson. If you have any questions simply leave a comment below.
Learn To Master The SoftwareGain a complete understanding of your favorite design apps with my comprehensive collection of video courses. Each course grants access to our private community where you can ask questions and get help when needed.
|
||||||||||||||||||||||||||||||||


You might also like


7 comments
-
-
-
Ari Cooper-Davis
Where? Even when snapping is enabled in the document properties the center of rotation crosshair does not snap – where do you need to enable snapping for the center of rotation?
-
Logos By Nick
In the snapping settings toolbar at the top of the screen there is an option that enables snapping of an item’s rotation center. It’s one of the last options on the right-hand side. If you hover your cursor over each option a label will populate telling you the name. Looking for “Snap to an item’s rotation center.”
-
-
-
-
-
KBondek
Hi, Nick,
Thanks for all tutorials you’ve made. All of them are really great and healpful. Keep it real!
Also, I have a question about rotating objects. If I want to rotate not symetrical object, i.e., rectangular triangle, everytime I made any rotation, the point changing its position to geometrical center of the figure.
Is there any possibility to “anhor” the point to stay in the same position all the time?Thanks in advance,
Chris-
Nick Saporito
It should be staying in place already. It just appears like it isn’t because of the way triangles are shaped. It has to do with where the points of the triangles are situated relative to the bounding box. The size of the bounding box changes as you rotate a triangle, but the position of the rotation point stays the same.
-
Alex
Hi, thanks for this, very helpful.
One thing I am still struggling with is that I cannot get the centre of rotation to exactly where I want it. I can drag the cross to nearly the right spot, but it doesn’t snap to exactly the right spot, and there is no way I can see to set the coordinates. Any ideas on how to do this?