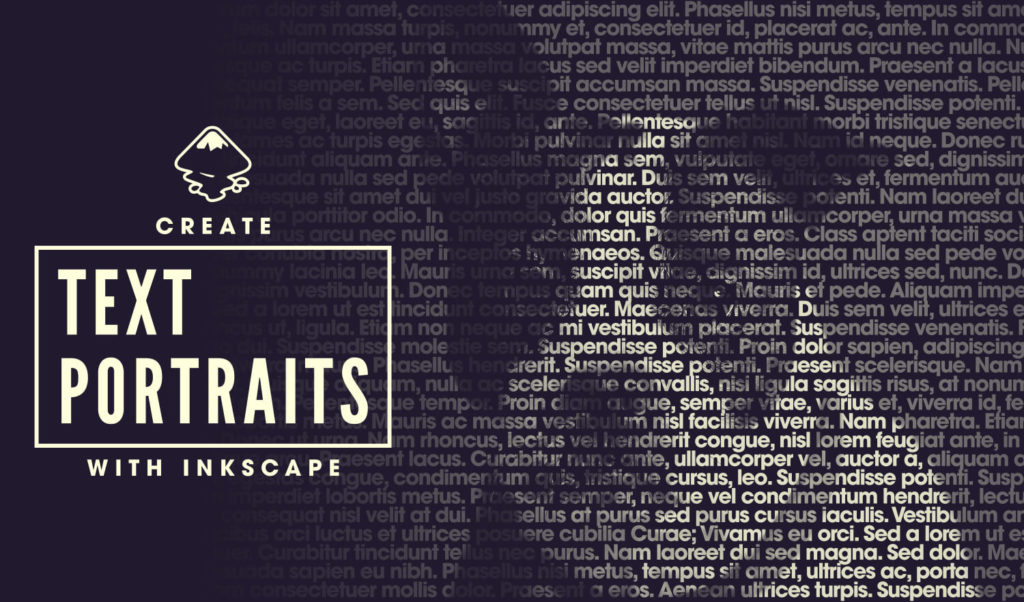
Create Text Portraits with Inkscape
Create Text Portraits with Inkscape https://logosbynick.com/wp-content/uploads/2018/08/inkscape-text-portraits-1024x602.jpg 1024 602 Nick Saporito https://secure.gravatar.com/avatar/8e31bf392f0ba8850f29a1a2e833cdd020909bfd44613c7e222072c40e031c34?s=96&d=mm&r=gIn today’s tutorial I’ll be demonstrating how you can create vector text portraits with Inkscape. This will be a relatively simple masking exercise, but I’ll also be introducing a new technique in flowing text into an object.
The following will be a brief written overview for how to execute this effect with Inkscape. For complete step-by-step instructions with voice narration, skip to the end of the post for the video tutorial.
Inkscape Text Portraits
The first thing we need to do is import our desired image. You can use whatever image you’d like. For this tutorial, I’ll be using the following photo of a dog…

Click to download full resolution image
Next, create a rectangle sized at the same width and height of your image and make it black. You can do this by right-clicking the image, copying it, then selecting your rectangle and going to Edit > Paste Size > Paste Size.
Now we need to generate our text. You can use whatever text you’d like, but for this tutorial I’m just going to generate some generic Lorem Ipsum text as a placeholder. To do the same, go to Extensions > Text > Lorem Ipsum.
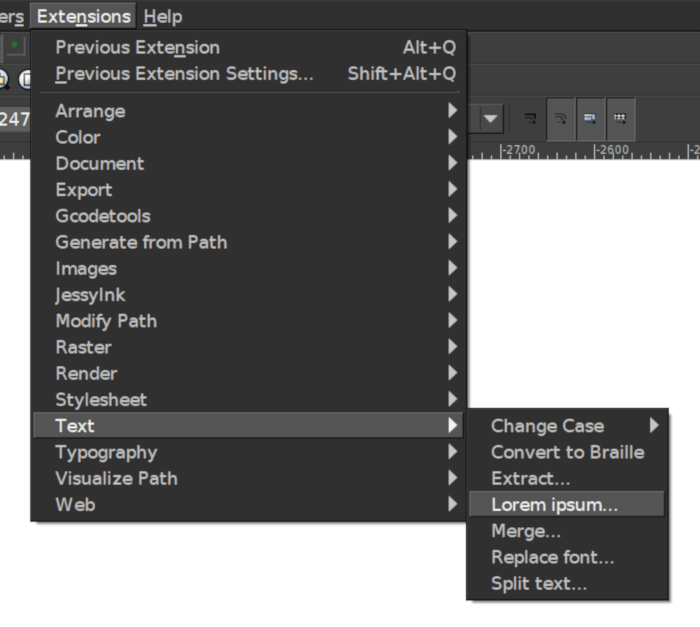
It will bring up the following menu…
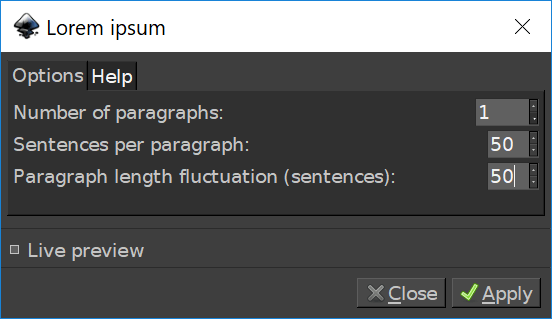
Based on the example image, I used the values depicted in the screenshot above.
Next, flow your text into the rectangle by selecting both objects and going to Text > Flow into Frame and make your text white.
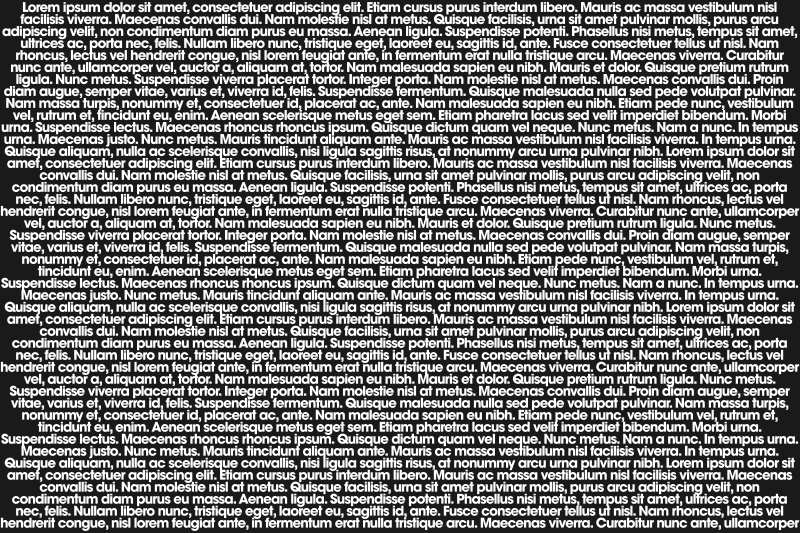
I recommend using a bold, heavyweight font with minimal spacing between letters and lines.
The final step is to align your image over your text and mask it by going to Object > Mask > Set.
Here’s the final result…

Once complete, you can change the color of your text and the background if you’d like.
Video Tutorial
For step-by-step instructions with voice narration, watch the complete video tutorial with voice narration below. If you have any questions, leave a comment below, and as always thanks for watching!
Learn To Master The SoftwareGain a complete understanding of your favorite design apps with my comprehensive collection of video courses. Each course grants access to our private community where you can ask questions and get help when needed.
|
||||||||||||||||||||||||||||||||


You might also like


4 comments
-
-
Nick Saporito
Looks like your colors got inverted somehow. Select everything and go to Filters > Color > Invert
-
-
kiku
Hi! I am kiku. I am a inkscape beginner
Your tutorials is very cool.
I have a problem. I follow your instruct
but can’t get same effect
Can you give me a advise?
this is final result
https://i.imgur.com/FNbZolJ.png
Thanks!