
How To Create Animated GIFs In Inkscape
How To Create Animated GIFs In Inkscape https://logosbynick.com/wp-content/uploads/2022/07/make-gif-in-inkscape1.png 800 470 Nick Saporito https://secure.gravatar.com/avatar/8e31bf392f0ba8850f29a1a2e833cdd020909bfd44613c7e222072c40e031c34?s=96&d=mm&r=gAttempting to create animated GIFs in previous versions of Inkscape proved difficult due to a lack of proper tools. Thanks to some of the advancements in version 1.2 and beyond, however, it is now possible to create animated GIFs in Inkscape by creating your frames and batch exporting them as individual images. That said, there is a catch. Inkscape cannot export the GIF format, so we’ll be recruiting the assistance of GIMP to export the final animated GIF.
This is the workflow that I used to create this simple animation, which depicts a character with common facial movements and a sleeping cat on his desk that occasionally wags its tail:

This is something that can be done with relative ease thanks to the new Batch Export feature in version 1.2. In this tutorial I’ll be demonstrating how to do something similar.
Create An Animated GIF In Inkscape
The following video tutorial will walk you through the entire step-by-step process for creating an animated loading spinner using Inkscape:
Continue on for a written overview of the step-by-step process.
Table of Contents
|
Step 1: Ensure that you are using Inkscape version 1.2 or later
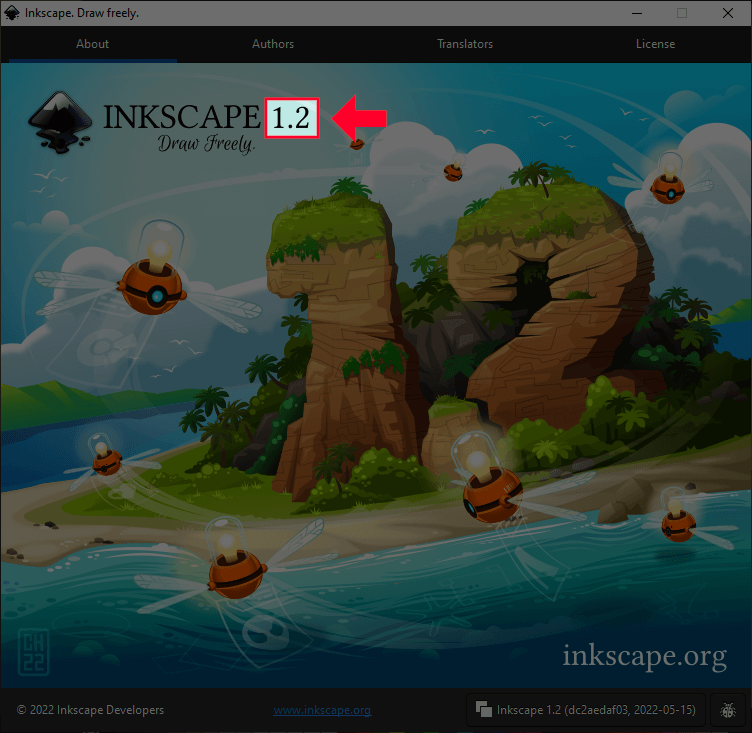
Before we get started, make sure that your installation of Inkscape is at least version 1.2 or higher. If you don’t know which version you’re using you can find out by navigating to:
Help > About Inkscape
Within that menu there should be an indication:
If you need to upgrade to the latest version, you can do so on the Inkscape website. Downloading and installing the latest version will automatically rewrite the current version you have installed.
Step 2: Open a new document and create your individual frames
Next, we’ll be creating all of the individual frames for our animated GIF.
For this demonstration I’ve created a simple loading spinner as it is simple and easy -to-reproduce design for someone who may be unfamiliar with Inkscape and is trying this out for the first time:
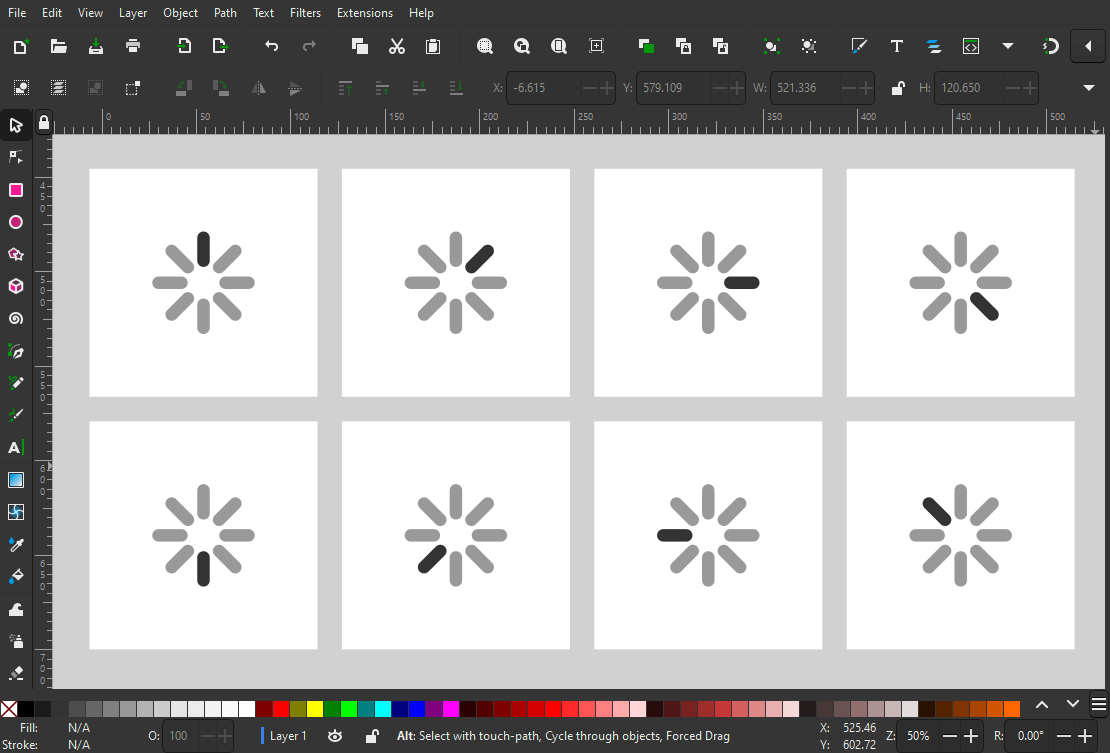
The individual frames of the animation.
As you can see, I’ve created separate elements for each frame of the animation. To see exactly how to recreate this, follow the video lesson at the top of the page.
Step 3: Group each frame together
Now that we’ve arranged our frames we must create groupings of each frame. It’s important that each frame is its own group as it will allow us to label it later on and export them by their label name, which makes it so much easier to keep things organized.
To create a grouping out of each frame, click and drag over one of them to select all of the elements of the frame and navigate to:
Object > Group
Alternatively, you can use the keyboard shortcut, which is Control + G.
Repeat this process for each individual frame.
Step 4: Rename each grouped object using the Layers menu
With your frames separated into groups, let’s apply numerical labels to them using the Layers/Objects menu. To access this menu, navigate to:
Layer > Layers and Objects
Alternatively, you can use this keyboard shortcut, which is Control + Shift + L.
The menu should populate on the right-hand side of your screen. With the menu open, click on the first frame to select it. Once it is selected you should see the grouped object highlight in the Layers menu. Double-click on the layer’s name/label and change it to the number 1 and press Enter.
Repeat this process for the rest of your frames, labeling them in numerical order. The labels should look something like this once finished:
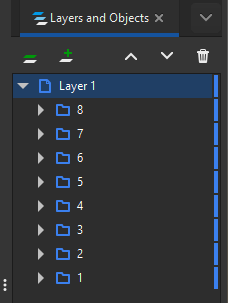
Each grouped frame should be labeled numerically in order.
It’s important that we add numerical labels to each frame as it will enable us to export them in their correct order.
Step 5: Batch export the group frames
Now it is time to export our frames as a series of individual PNG images. To do this, open the Export menu by navigating to:
File > Export
Next, click and drag over all of your frames to select all of them. Within the Export menu, select the Batch Export and Selection tabs near the top of the menu. You should see your frames indicated:
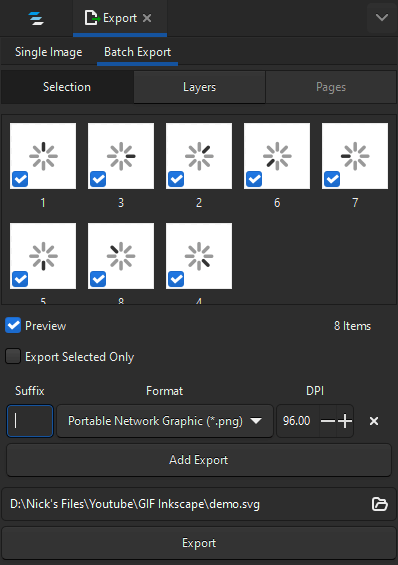
Do not worry if they are not depicted in order in this menu. It is irrelevant at this point.
Now, click the folder icon towards the bottom-right of the Export menu to select a location on your hard drive to export the frames as. Give them a name. For this demonstration I named them “Spinner”.
The name you apply will be a prefix for each of the frames in their numerical order. So, for example…
- Spinner_1.png
- Spinner_2.png
- Spinner_3.png
So on and so forth.
Step 6: Open the frames as layers in GIMP
Now it’s time for us to open these frames as layers in GIMP so that we can export it as an animated GIF. We have to use GIMP to do this because unfortunately Inkscape doesn’t allow us to export animated GIFs.
GIMP is a free and Open Source image editor that can be downloaded and installed here. Once installed, launch GIMP and open your frames as layers by navigating to:
File > Open As Layers
Locate your exported frames on your hard drive and Shift-click them to select all of them at once, then press the Open button. If done correctly, your frames should all load as a series of layers in numerical order:
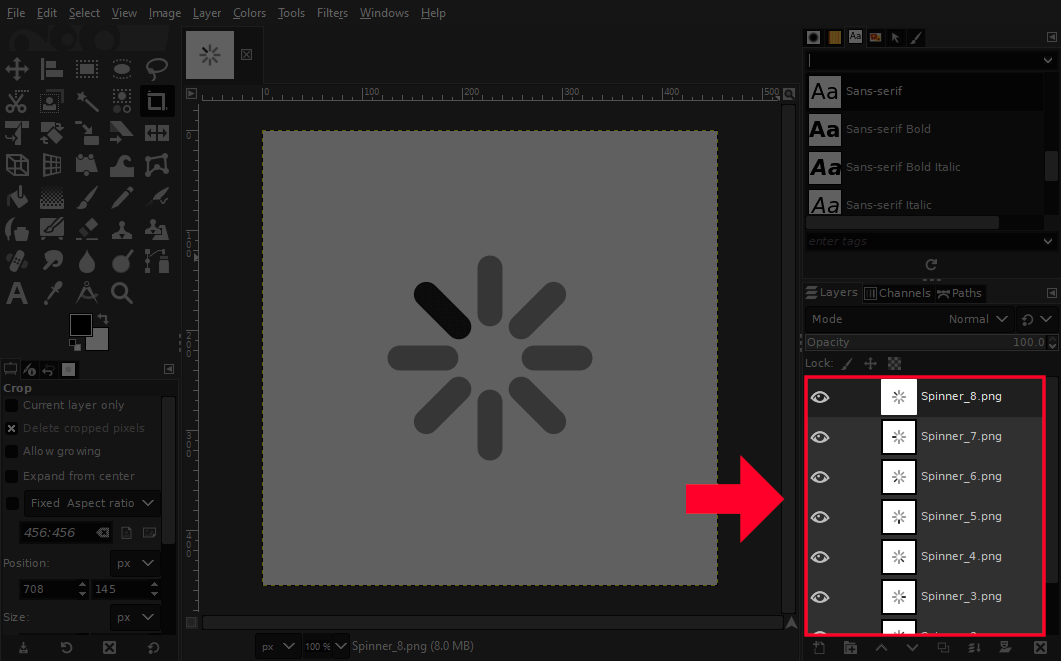
The frames should be opened in numerical order automatically.
Step 7: Export the frames as an animated GIF
To bring our animated GIF to life, all we have to do now is export the document as a .gif file. To do so, navigate to:
File > Export As
Determine what you’d like to name your animated GIF and type it into the Name field in the Export Image menu. Then, click the Select File Type option towards the bottom of the menu and select GIF:
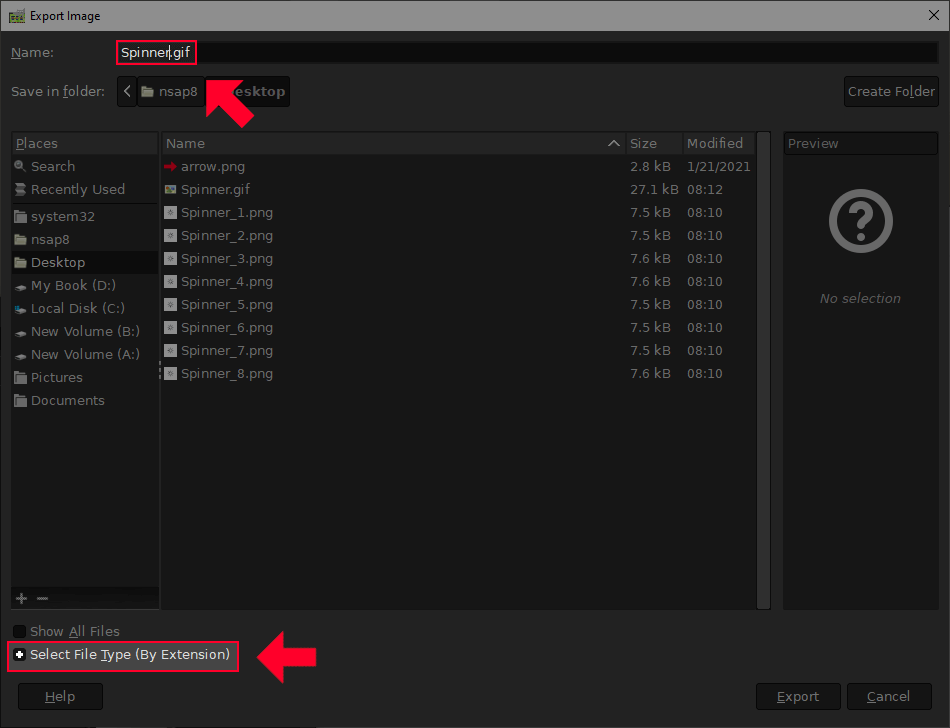
Use this menu to name your animated GIF.
Click Export once applied and the GIF export menu should populate:
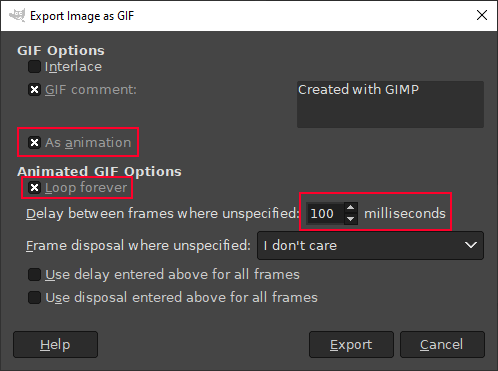
Make sure to check the box that says As Animation! If this box is left unchecked then your GIF will not be animated. It will just be a static image. Also, make sure that you have Loop Forever checked as well if you’d like your GIF to loop endlessly. Leaving it unchecked will make it so that your GIF plays once and then become a static image.
Finally, use the Milliseconds input to determine the speed of your animation. The higher the number the slower it will play, whereas a lower number will make it play faster. For my loading spinner graphic I have inputted 100 milliseconds.
Press the Export button once you are finished, and your animated GIF should be ready and waiting for you wherever you saved it:

And we’re done! That is how you can make an animated GIF in Inkscape (and GIMP).
Conclusion
There was once a time when creating animated GIFs in Inkscape would prove too tedious because of a lack of a properly-functioning batch export feature. However, this feature makes it much easier. Now if only Inkscape would implement a GIF export feature so that we don’t have to use GIMP, that would be even better!
If you have any questions or need clarification on any of the steps taken in this lesson then simply leave a comment below.
Learn To Master The SoftwareGain a complete understanding of your favorite design apps with my comprehensive collection of video courses. Each course grants access to our private community where you can ask questions and get help when needed.
|
||||||||||||||||||||||||||||||||


mario
Just made a little wrapper extension https://inkscape.org/~culturaljuice/%E2%98%85export_gif for this very purpose.
Still fairly beta, but avoids the manual frame exporting and Gimp procedure. Though it might only be a time saver for 10-20 slides really.