Instagram Carousel Template for Inkscape Users | Free Download + Tutorial
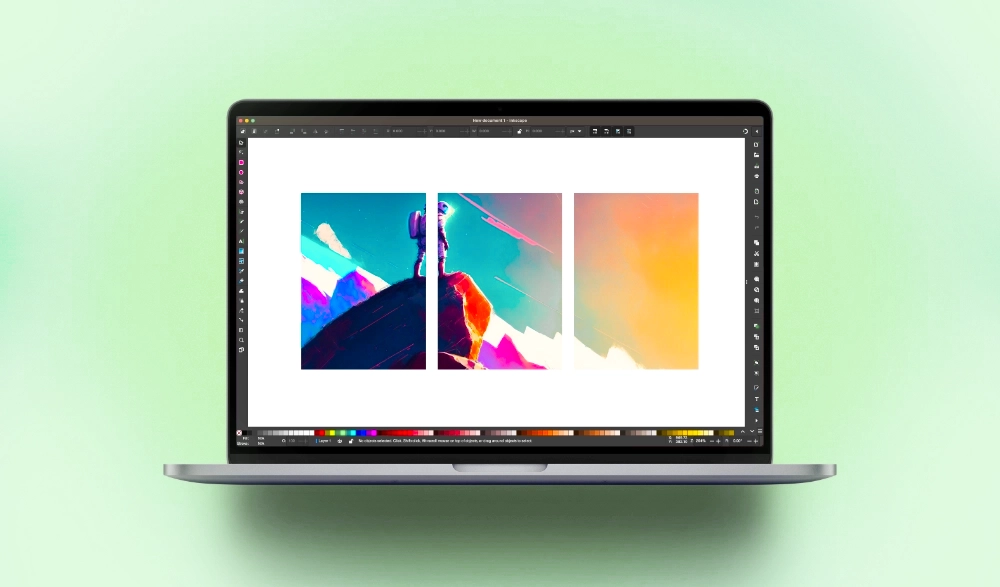
Instagram Carousel Template for Inkscape Users | Free Download + Tutorial https://logosbynick.com/wp-content/uploads/2023/07/carousel-images-2.webp 1000 587 Nick Saporito https://secure.gravatar.com/avatar/8e31bf392f0ba8850f29a1a2e833cdd020909bfd44613c7e222072c40e031c34?s=96&d=mm&r=gIn this tutorial we’ll be going over how to slice and export your artwork as carousel tiles using Inkscape. The example we’ll be working with today is used to create a carousel for Instagram — or a collection of individual slides that make up a continuous image when placed side-by-side.
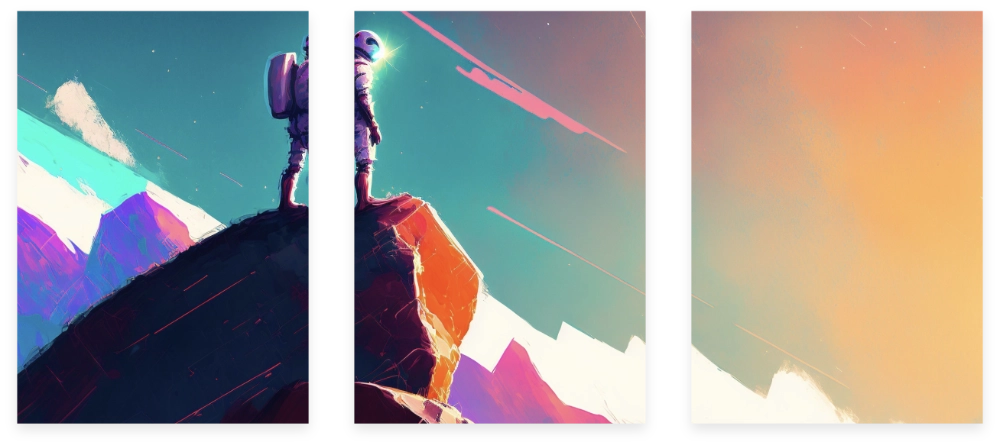
To do this we will have to use the Documents Tool and the Batch Export feature to create a series of individual documents that will make up the slides of the carousel. Once exported and placed next to each other, they will make up a continuous image:
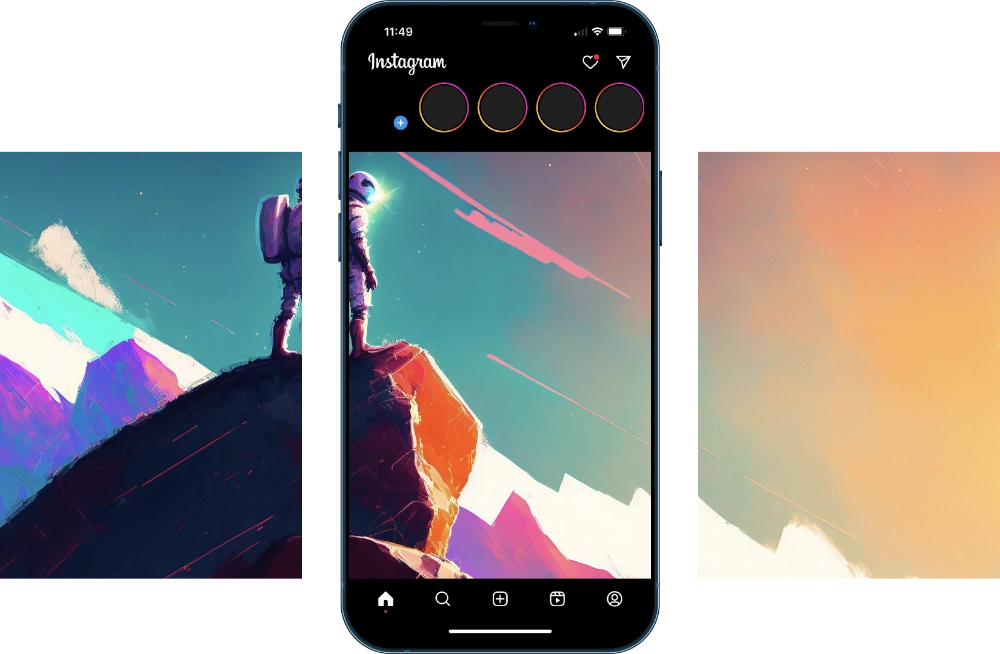
These images can then be uploaded to Instagram (or wherever else) to make your carousel.
Free Download
If you want to skip the tutorial and download a pre-made template so you can get right to work then you can do so here: free-template.zip
The template comes formatted for 6 slides. If you need fewer slides than that then just use the slides you need and only export those pages once you’re finished. If you need more than 6 slides then watch the video tutorial to see how to add more.
Create Carousel Slides with Inkscape
The following video tutorial will walk you through the process of setting up your document for carousel slides and batch exporting them:
Continue on for a brief overview of the steps taken in the video tutorial.
Table of Contents
|
Step 1: Create A Single Slide
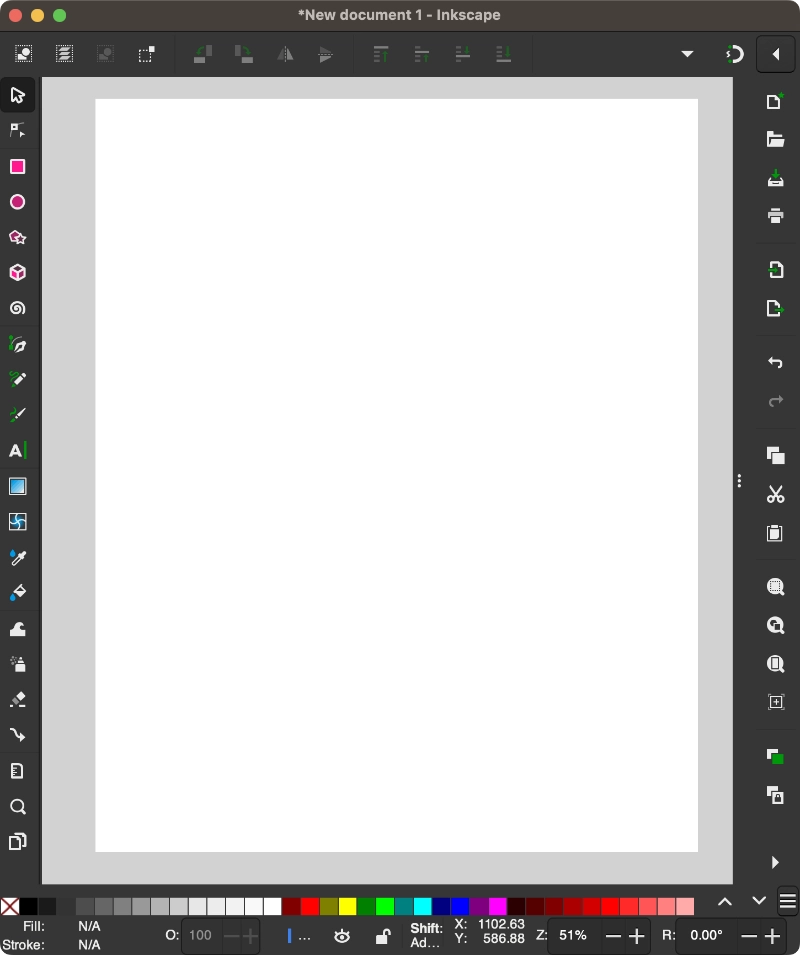
To create our carousel we are going to create a new page for each individual slide.
A single slide for an Instagram carousel has a recommended size of 1,080 x 1,350 px so we’re going to make our document that size:
Step 2: Duplicate The Slide As Needed
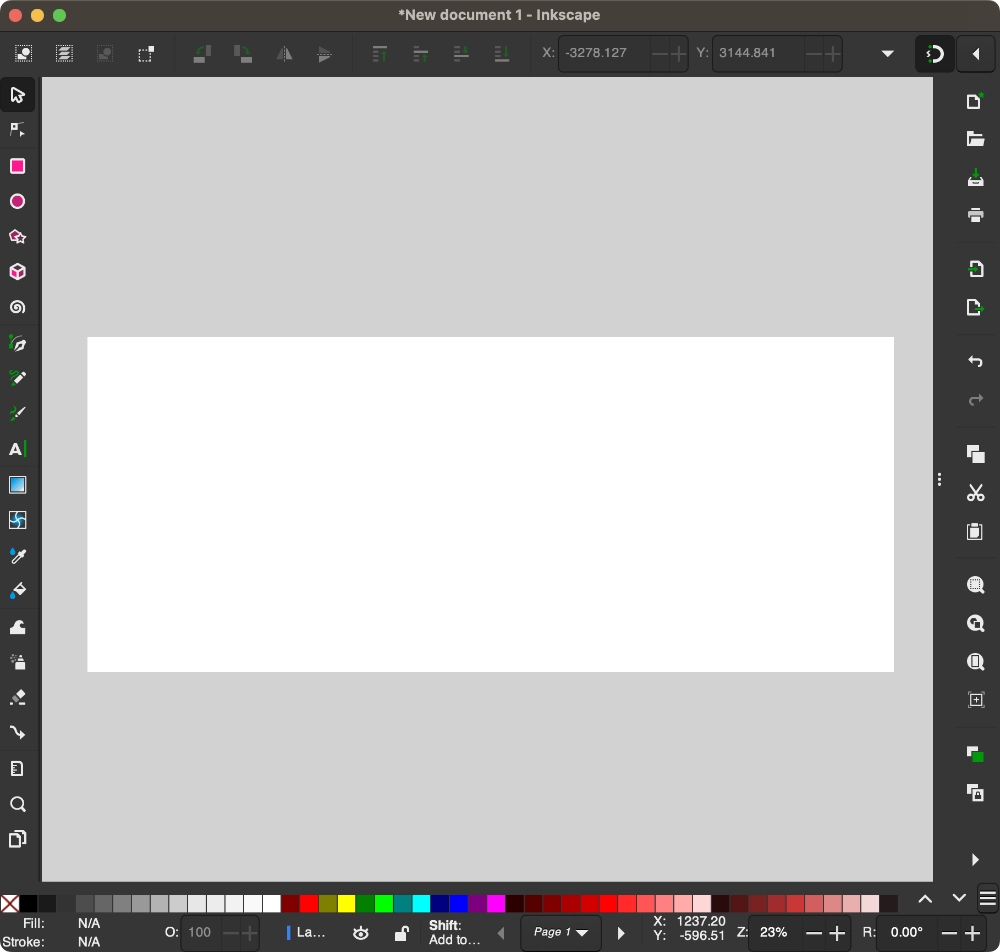
Now we are going to add more documents for however many slides are desired. For this demonstration I will only be using 3 slides, so use the Documents Tool to create additional pages in the same size that are placed side-by-side with each other:
Make sure to watch the video tutorial if you don’t know how to do this. This is just a written overview of what we did in the tutorial.
Step 3: Import Your Artwork
In this next part of the lesson we will import our artwork and start adding our own design elements. Then, we’ll add a border to the document that overlays the artwork:
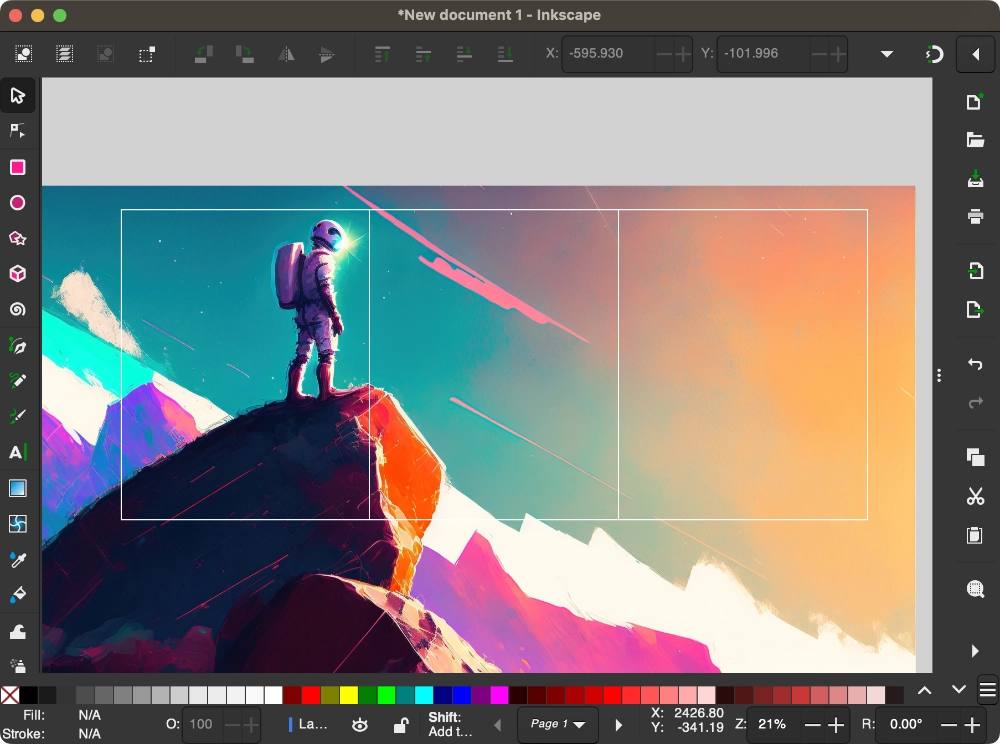
This enables us to see exactly where our artwork lines up with the boundaries of the carousel slides.
Step 4: Batch Export Each Page
Finally, we’ll be using the Batch Export feature to save/export each individual slide as a separate PNG or JPEG image.
Once exported, they can be placed side-by-side to create a continuous image:
In Conclusion
Inkscape is one of the best tools for slicing up your artwork into carousel slides, and it’s all thanks to some of the handy tools that were only released a couple of years ago.
Previously, this could be accomplished by duplicating the image and making clipping masks. But thanks to the recent additions of the Documents Tool and Batch Exporting, we no longer have to do that.
Learn To Master The SoftwareGain a complete understanding of your favorite design apps with my comprehensive collection of video courses. Each course grants access to our private community where you can ask questions and get help when needed.
|
||||||||||||||||||||||||||||||||