How To Create Double Exposure Logos with Inkscape
How To Create Double Exposure Logos with Inkscape https://logosbynick.com/wp-content/uploads/2020/04/inkscape-double-exposure-logo.png 800 470 Nick Saporito https://secure.gravatar.com/avatar/8e31bf392f0ba8850f29a1a2e833cdd020909bfd44613c7e222072c40e031c34?s=96&d=mm&r=gIn this tutorial I’ll be demonstrating how to create double exposure logos using Inkscape. Double exposure is a technique that allows you to create an optical illusion in which two objects are exposed at once. In order for this to work in a logo design, the objects will be merged together to make a single object. This is something that is usually implemented in photography and photo editing, but if done right it can work just as a logo design as well.
The following is just a brief overview of the steps taken to create our double exposure logo. Please watch the video tutorial below:
Create A Double Exposure Logo
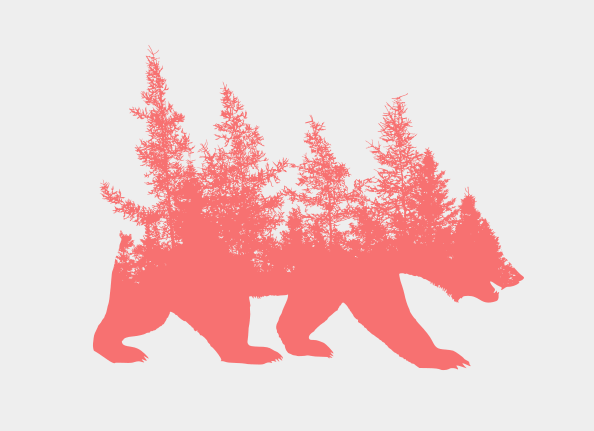
To create a double exposure logo with Inkscape, we’re first going to need a couple of objects to work with so we can combine them together. As you can see in the thumbnail of the video, I merged together a bear with a skyline of trees.
I got these graphics from Pixabay. Click the image below to be taken to the download page for the corresponding graphic.
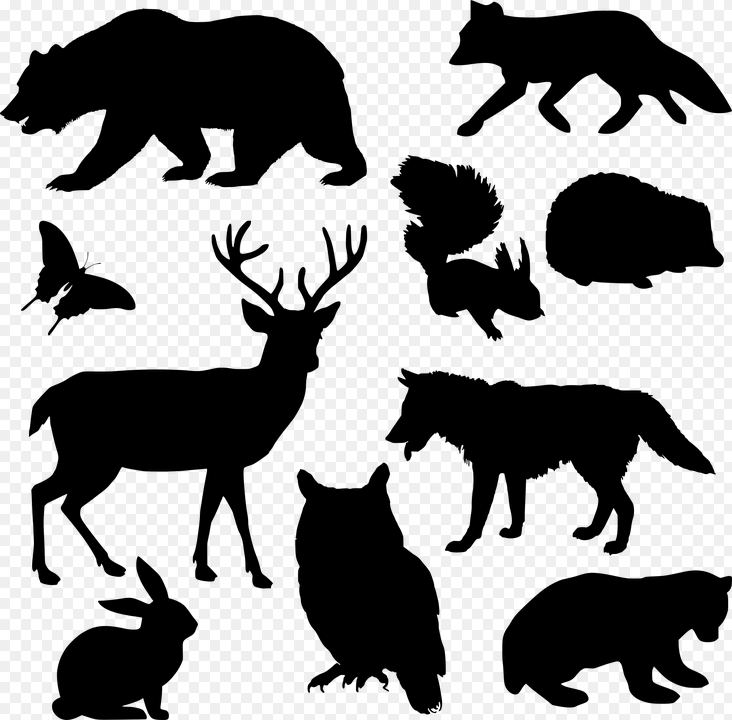
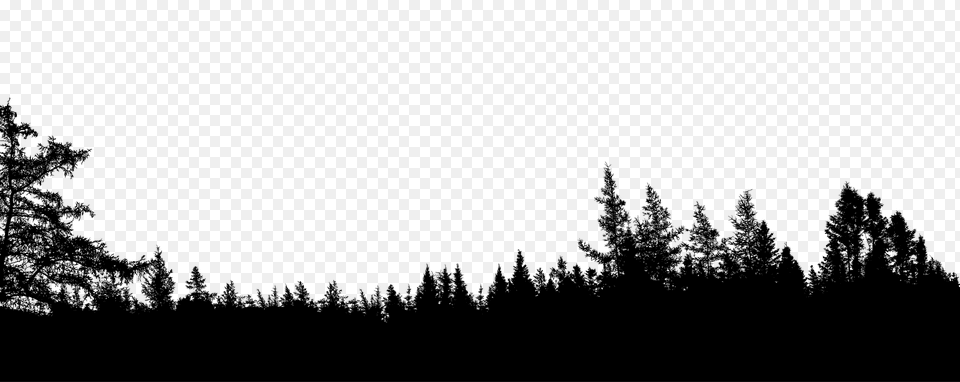
Make sure to download the SVG file when you’re on the download page, otherwise the techniques will be using in this tutorial won’t work.
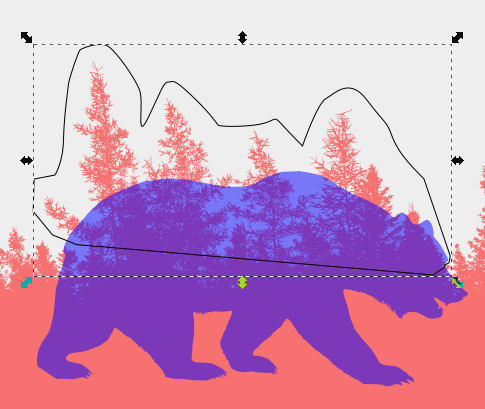
Once you’ve downloaded the two graphics, import them into Inkscape, give them each different colors, bring their opacity down roughly in half, then place them over each other as depicted below.

We’ll be taking an intersecting sample of these two objects, so make sure to position them wherever you’d like that sample to be taken.
In order to generate an intersecting sample we’ll be using the Intersection path function. However, if you execute this function with the graphic as it you will end up with the tops of the trees being excluded from the design. We want those trees to be included, so we’re going to manually draw an object going around them and through the bear.
Now we need to unify that newly-created shape with the bear, so select both of them and navigate to Path > Union.
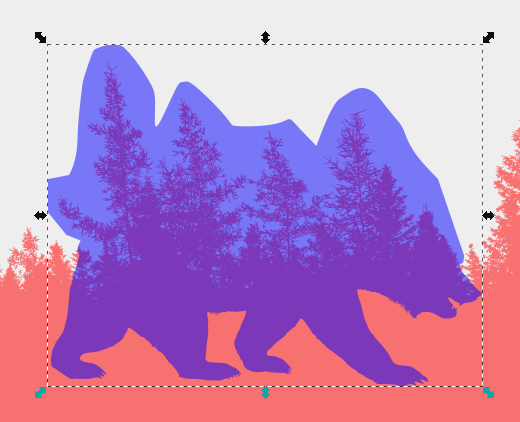
Now we can generate our intersection sample. To do this, select both the bear and the trees, then navigate to Path > Intersection.
At this point the design is pretty much finished. We just have to bring the opacity back up to 100%, fill it with whatever color you’d like, then add some text.
![]()
And that’s it! That’s how you can go about create a double exposure logo with Inkscape. If you have any questions simply leave a comment below. As always, thanks for watching!
Learn To Master The SoftwareGain a complete understanding of your favorite design apps with my comprehensive collection of video courses. Each course grants access to our private community where you can ask questions and get help when needed.
|
||||||||||||||||||||||||||||||||


Great tutorial, but how do you give it the texture and background as in the thumbnail?