Create Signature Watermarks with GIMP
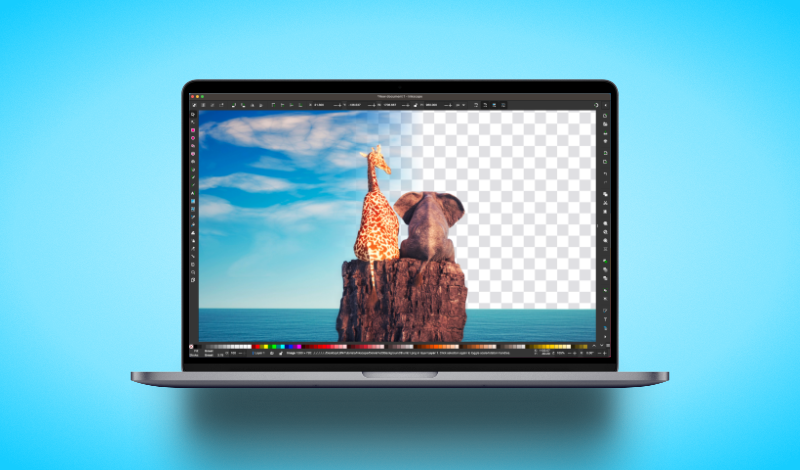
Create Signature Watermarks with GIMP https://logosbynick.com/wp-content/uploads/2017/12/gimp-custom-signature-watermark-2-1024x602.jpg 1024 602 Nick Saporito https://secure.gravatar.com/avatar/8e31bf392f0ba8850f29a1a2e833cdd020909bfd44613c7e222072c40e031c34?s=96&d=mm&r=gIf you’ve ever wanted to watermark your photos using your own signature, I’ll be showing you how to do just that in this tutorial, using GIMP. Skip down to the end of the post if you’d just like to watch the video tutorial.
There’s two ways of accomplishing this — both of which I’ll be covering in this post: the easy way and the hard way. The easy way only takes a brief minute, but it produces imperfect results. I would only recommend this method if you are very uncomfortable using GIMP and just need a quick, rudimentary signature to slap on your photos.
The hard way takes a little more time and requires a bit more effort, but it produces spectacular results, and as a designer I wouldn’t recommend any other method. Let’s get started.
Your Signature

First, grab a piece of paper and a pen and scribble your signature (or initials) onto it (I would advise against using your actual legal signature for obvious reasons.) After that, snap a photo of it with your smartphone and email it to yourself, or you can use Dropbox, or any other method you prefer for getting images from your phone to your computer. Just get it onto your computer so you can open it with GIMP.
The Easy Way
For the quick and dirty method, simply go to Colors > Threshold and adjust the slider until your signature is all black and the surrounding area of it is all white. You may need to manually brush out from artifacts.

After that, right click on the image layer and select Add Alpha Channel to make sure you have a transparent layer beneath your photo. If you can’t select it, it’s already there. Great.
Now, you just have to grab the Select by Color Tool, click on any white area and press Delete on your keyboard to get rid of it. Once you’ve done that you can grab the Eraser and manually brush out whatever leftover white areas that surround the signature, go to Colors > Invert to turn the signature white, then go to Image > Autocrop Image to change the canvas size to that of your signature’s, and you’re done!

If you zoom in on the signature, you’ll see exactly why I’m not crazy about this method — it results in jagged, messy edges.

If this is below your standards (as it is mine,) then read on for a more professional method.
The Hard Way
For a more polished, refined look with clean, smooth, fluid lines, we’re going to manually trace over the signature with the Paths tool. So, the first step is to create a new transparent layer on top of your signature photo.
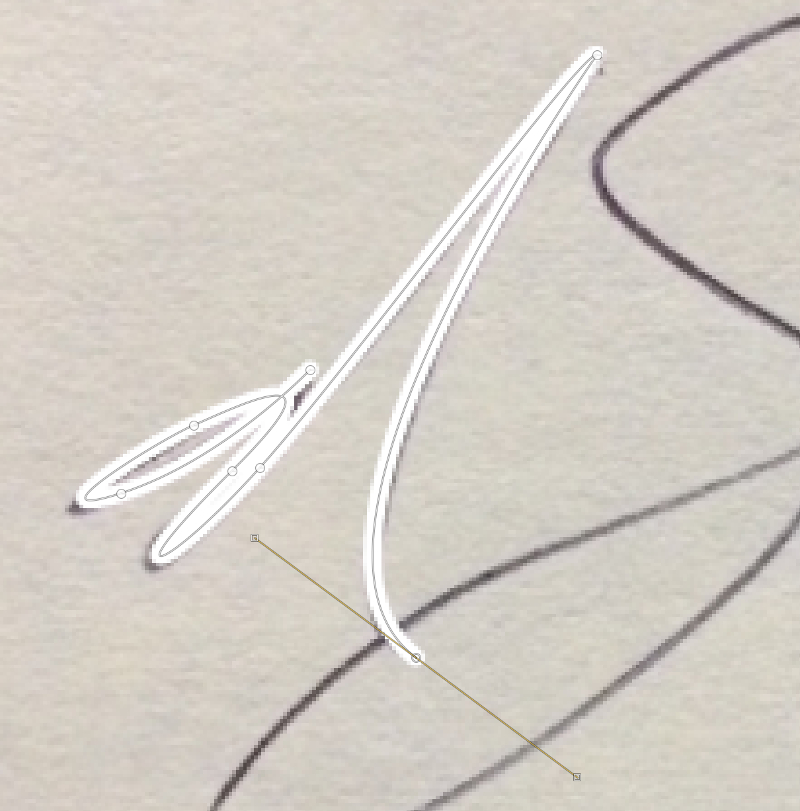
Once you have a dedicated layer for your tracing, go ahead and grab the Paths tool and start manually creating a path going through your signature as depicted below. I would recommend watching the video at the bottom of the page if you’re unsure of the technique this calls for. It’s much easier for me to demonstrate it than it is for me to describe it with text.

After that, set your foreground color to whatever color you’d like the signature to be (I recommend white,) then go to Edit > Stroke Path.
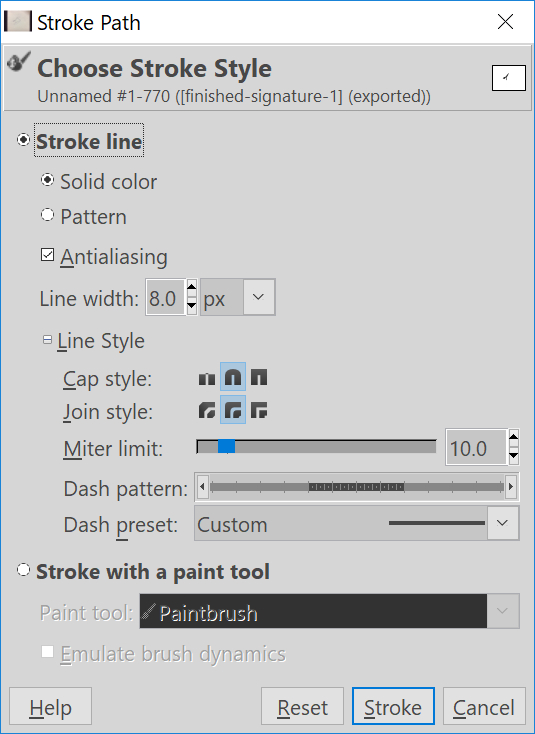
In the Stroke Path menu, select Solid color and set both the Cap style and Join style to Rounded (the middle icon,) and set the Line width to whatever thickness (in pixels) you’d like your signature to be. I suggest starting with 8 and taking it from there. You can always undo it and try a different size if that turns out to be too thick or too thin.
Once those parameters are set, click Stroke. This will create a smooth, fluid stroke that follows the contours of your signature.
Simply repeat this process for any other outlying letters, remove the photo layer, auto-crop the image canvas size and you’re finished! You’ve created your signature watermark.

Video Tutorial
For a complete step-by-step walk through with voice narration and further instructions on how to best utilize your new signature watermark, check out my video tutorial below.
Learn To Master The SoftwareGain a complete understanding of your favorite design apps with my comprehensive collection of video courses. Each course grants access to our private community where you can ask questions and get help when needed.
|
||||||||||||||||||||||||||||||||